As cliché as it sounds, it feels like it was only yesterday the last time I updated everyone on Project Rough’s journey. That feeling of ‘only yesterday’ translates into over two years of reality.
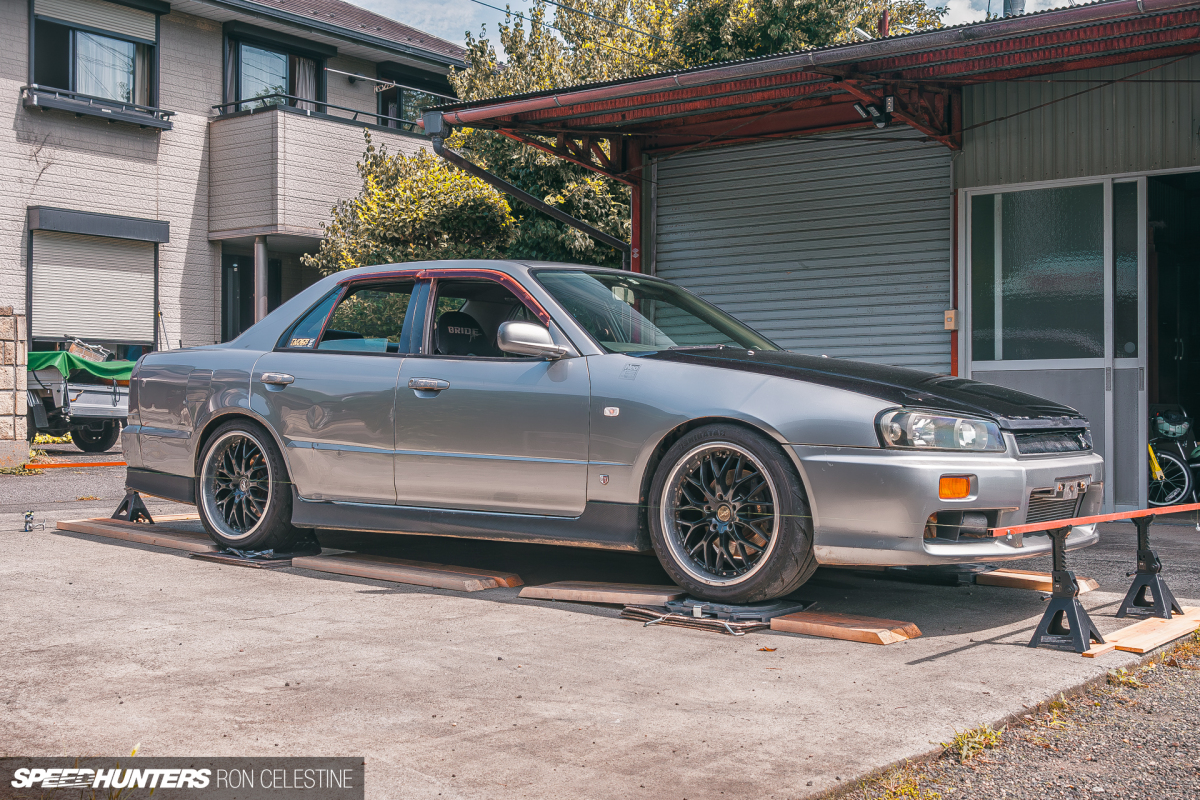
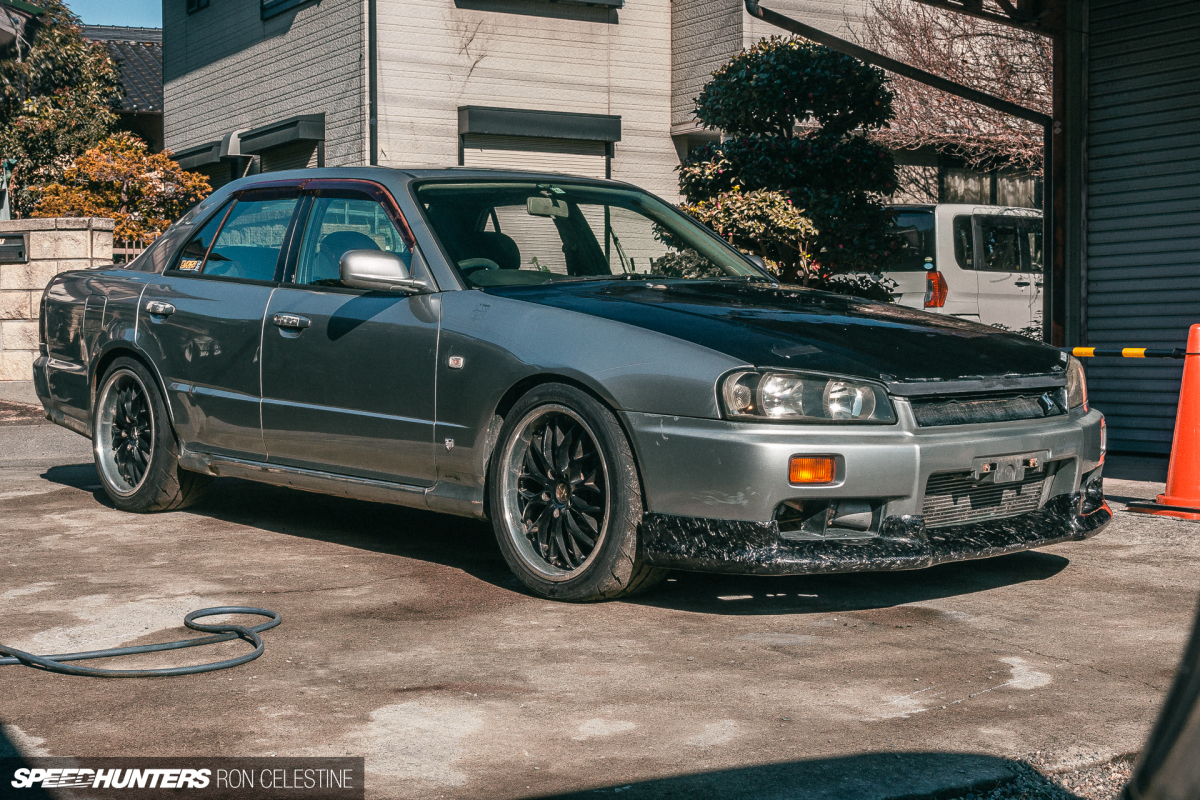
It’s mind-boggling to me that 24 months have already passed. However, the fact that my youngest is approaching three and constantly tries to have full-blown conversations with me confirms it. So, what about Rough, the ER34 Nissan Skyline GT-T? Is the project still a project? Do I still even have it?
The latter question doesn’t need to be addressed because I’ve titled this post The Mega Update, but let’s dive into the other questions about Project Rough – particularly, what has changed in the last two years.
More Alignment Goodies
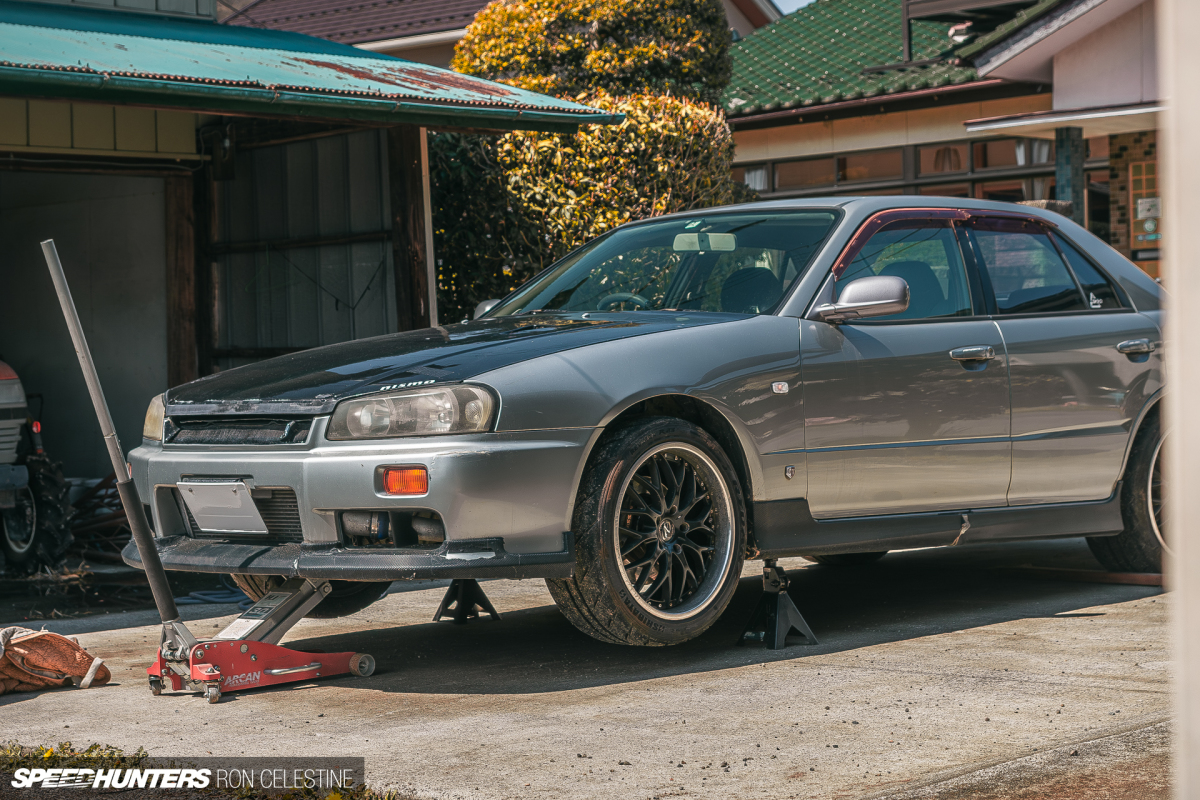
Since my last experience performing DIY alignments, I’ve constantly redesigned my rig and approach to improve the results.
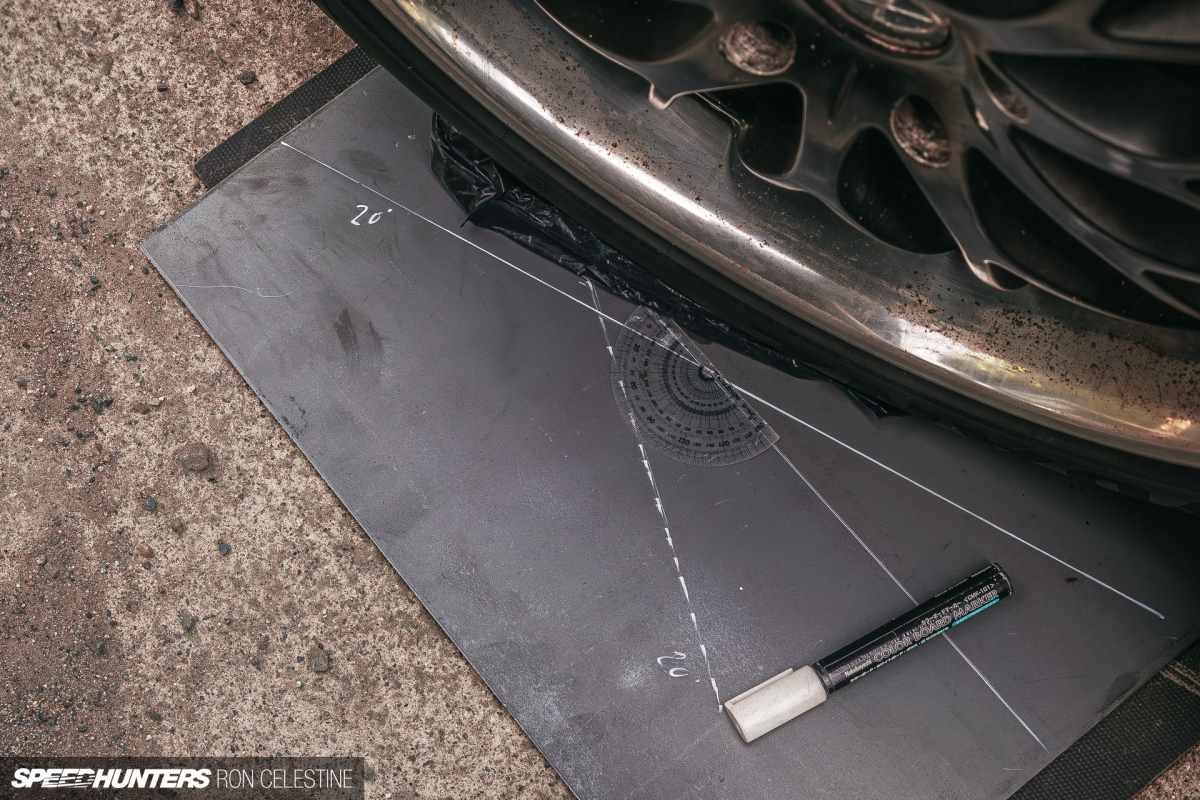
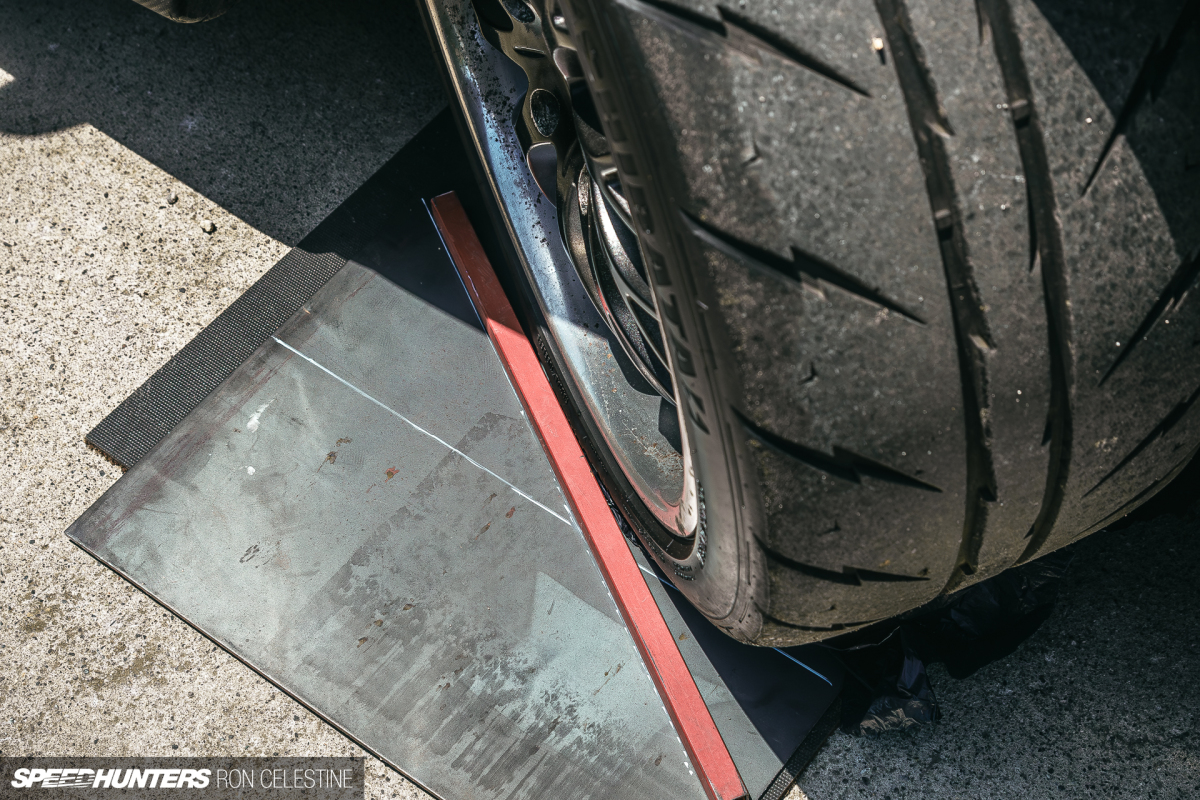
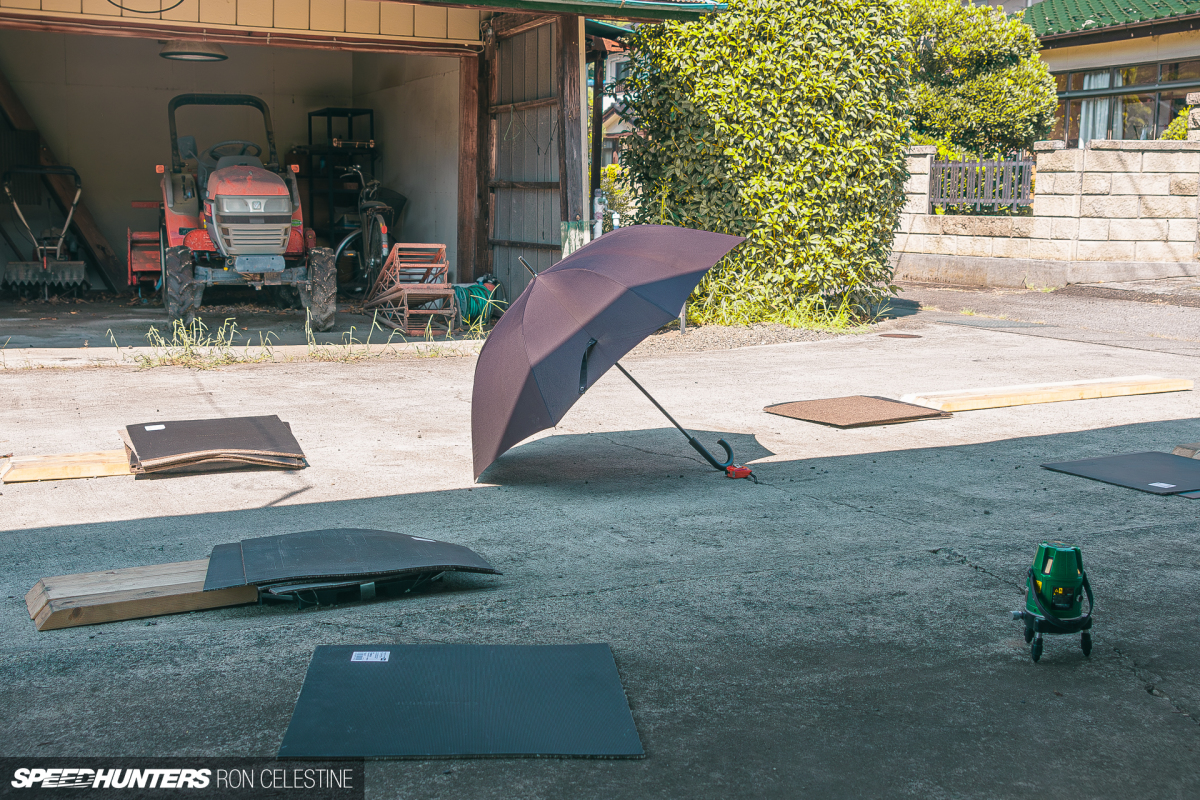
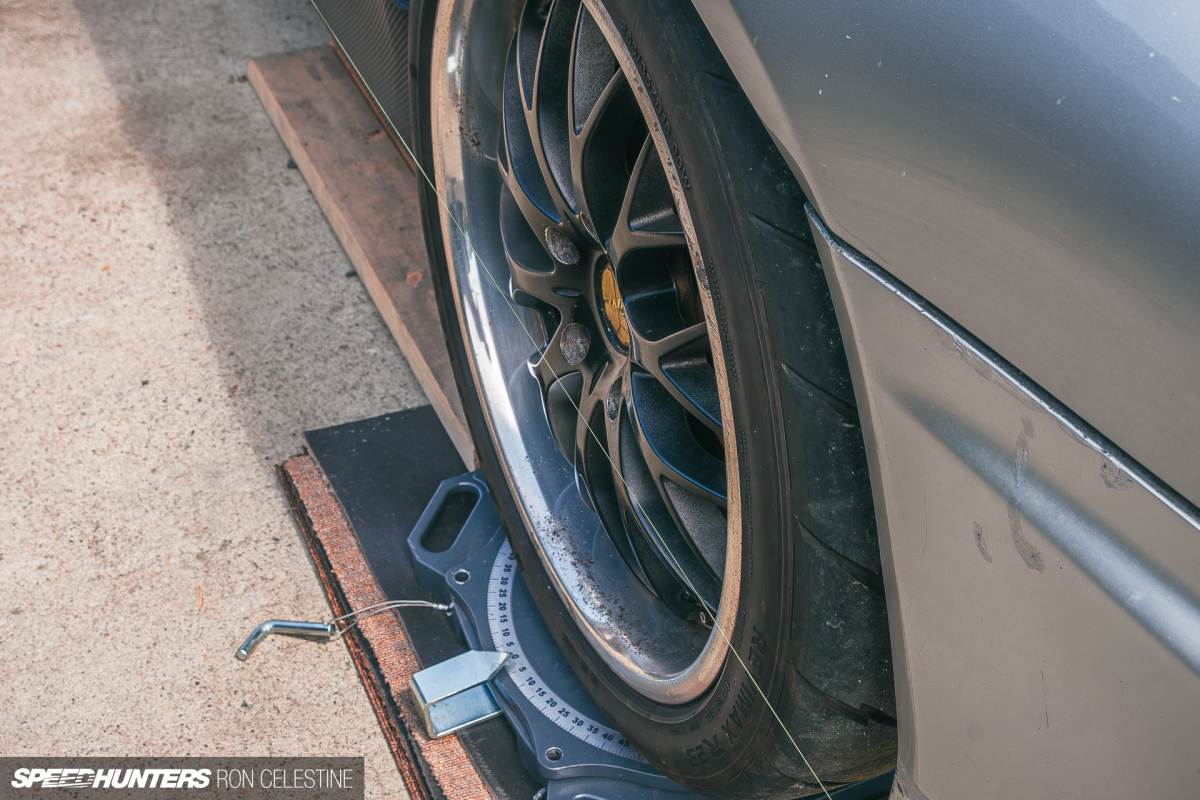
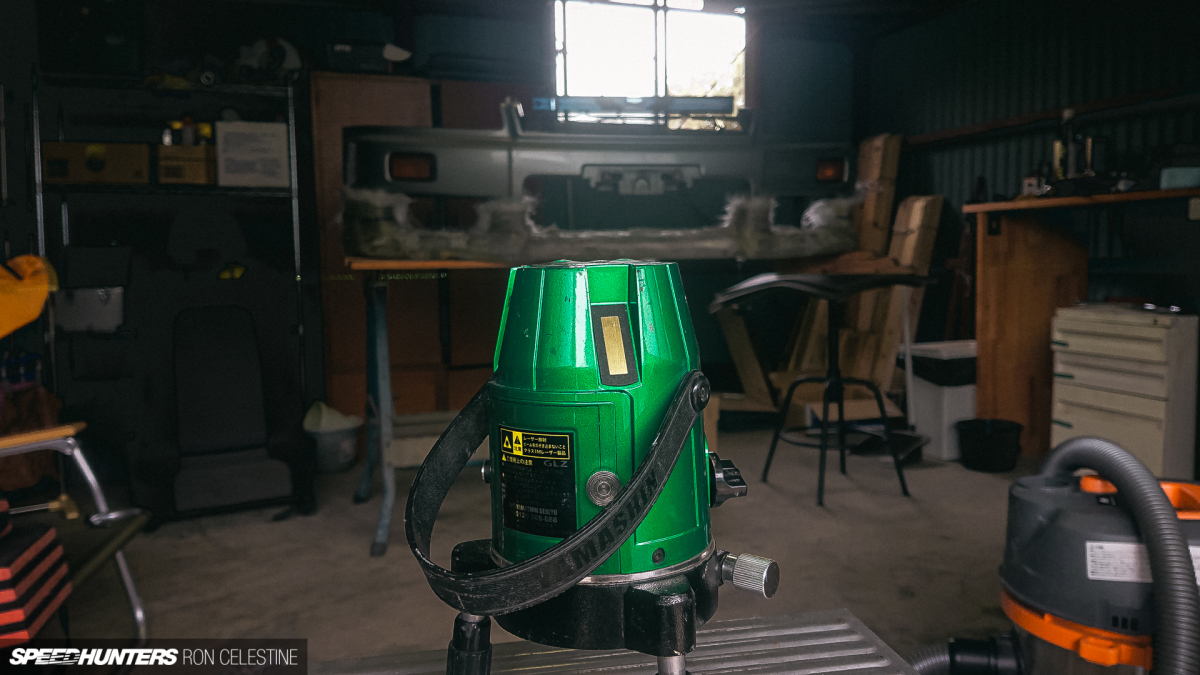
I’ve designed a portable ramp and platform system that allows me to raise the car a bit higher off the ground to work on it without lifting it and causing binding. I finally invested in a set of turntables, as any DIY-style system lacked accuracy and repeatability. I also bought a laser level to ensure that the platform was level on all four corners, increasing its accuracy.
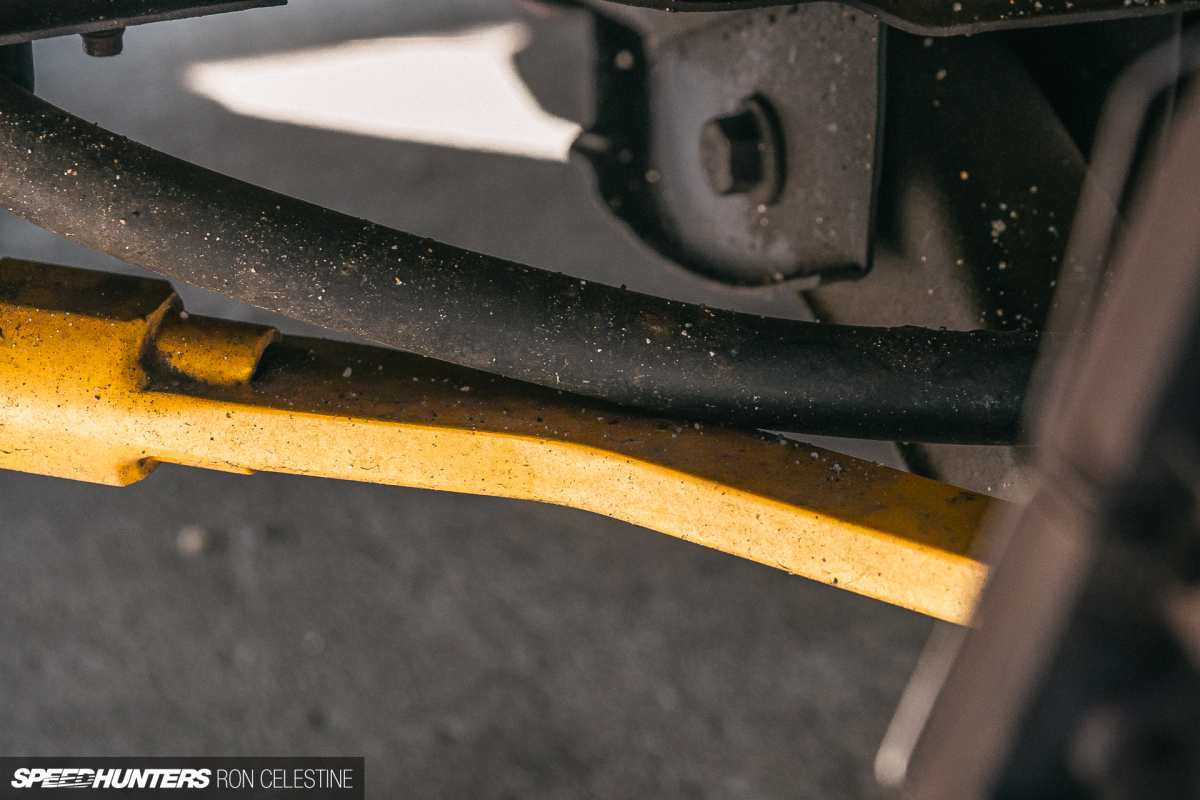
The changes have worked and made performing alignments a breeze. One final thing I needed to do was change my caster arms. At some point during all the suspension modifications that I made over the years, the wide clearance design of the arms interfered with the front sway bar, blocking its motion of travel.
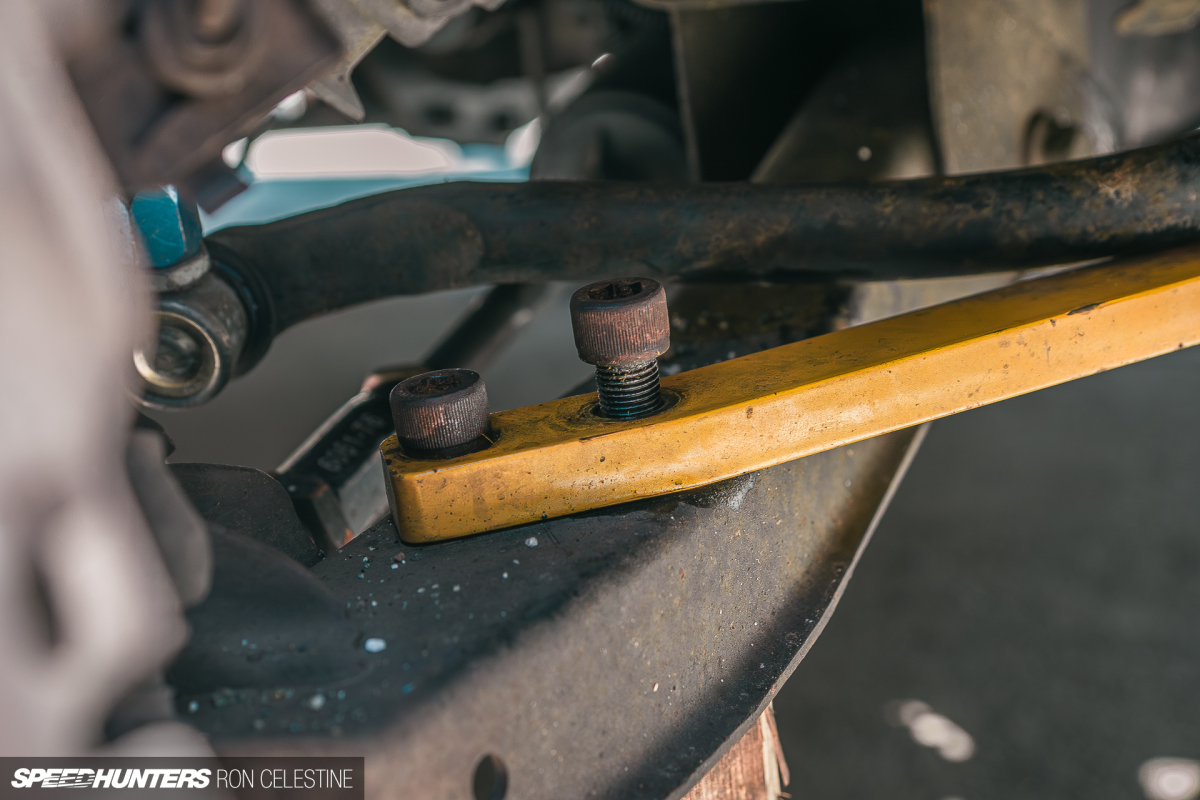
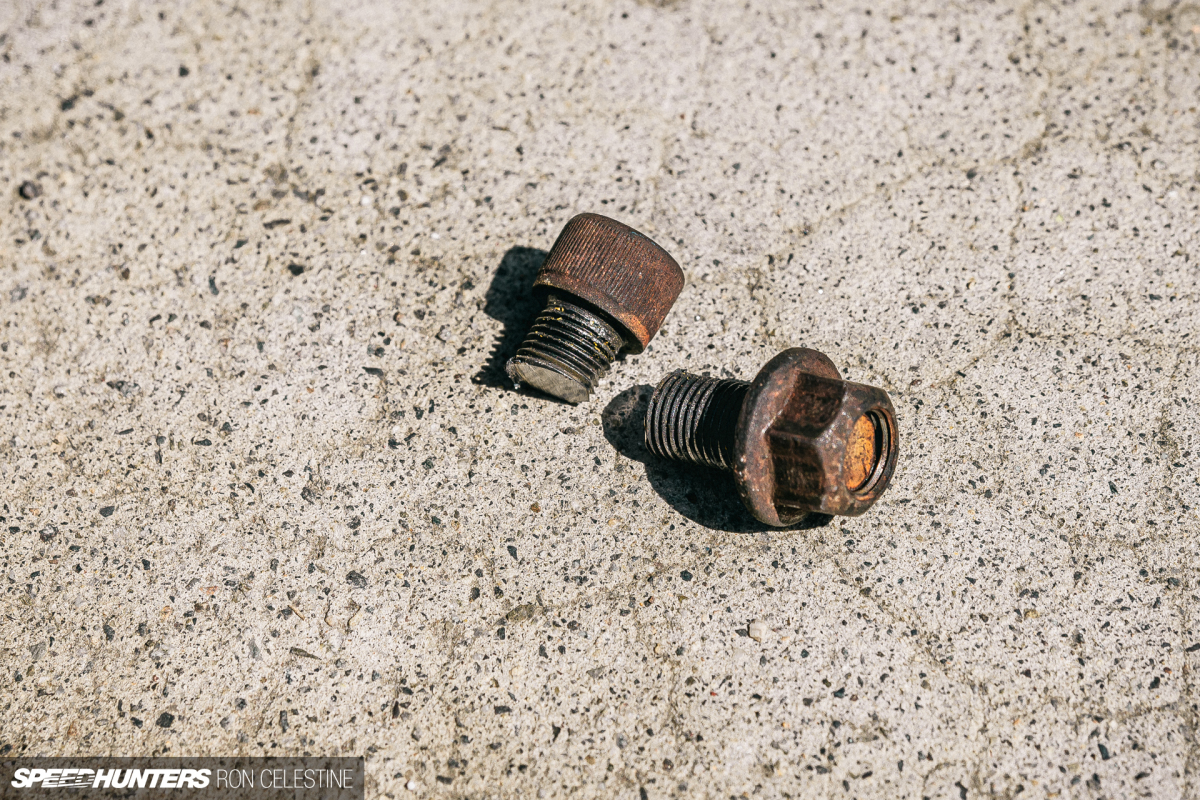
Of course, it wouldn’t be a Project Rough update if something didn’t fight me while trying to remove it…
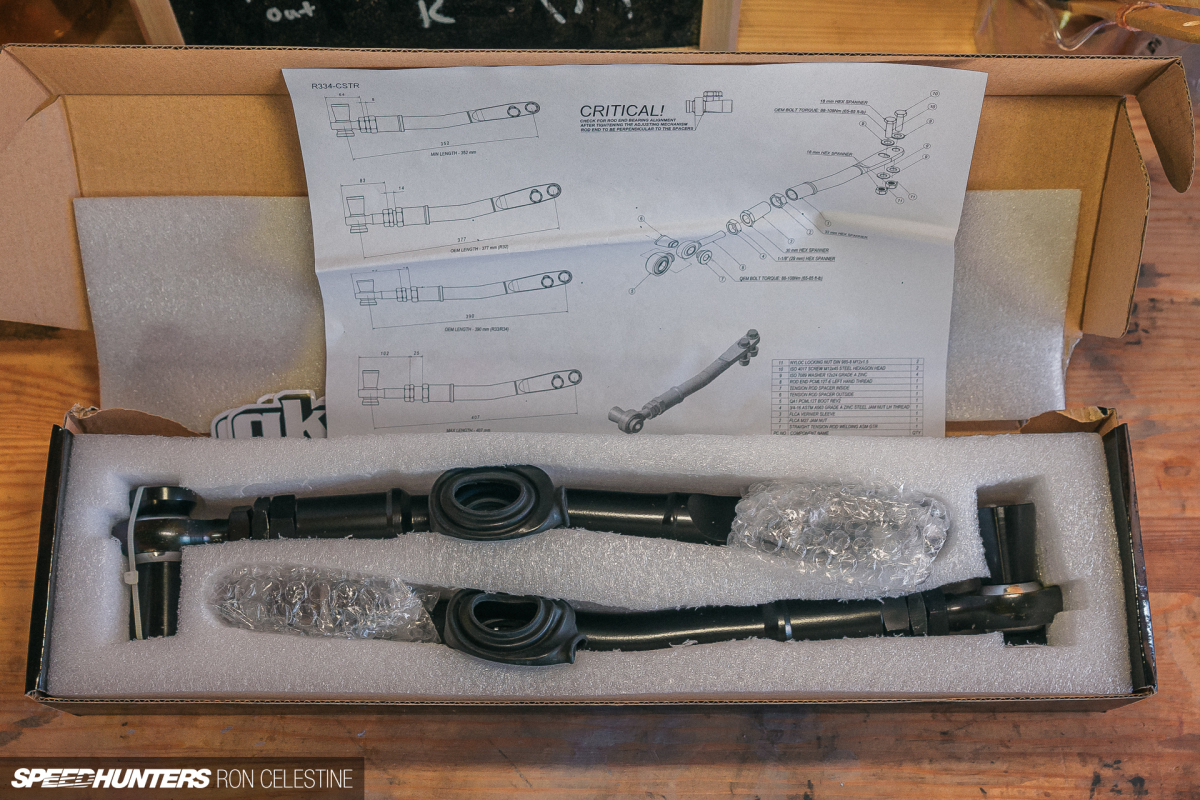
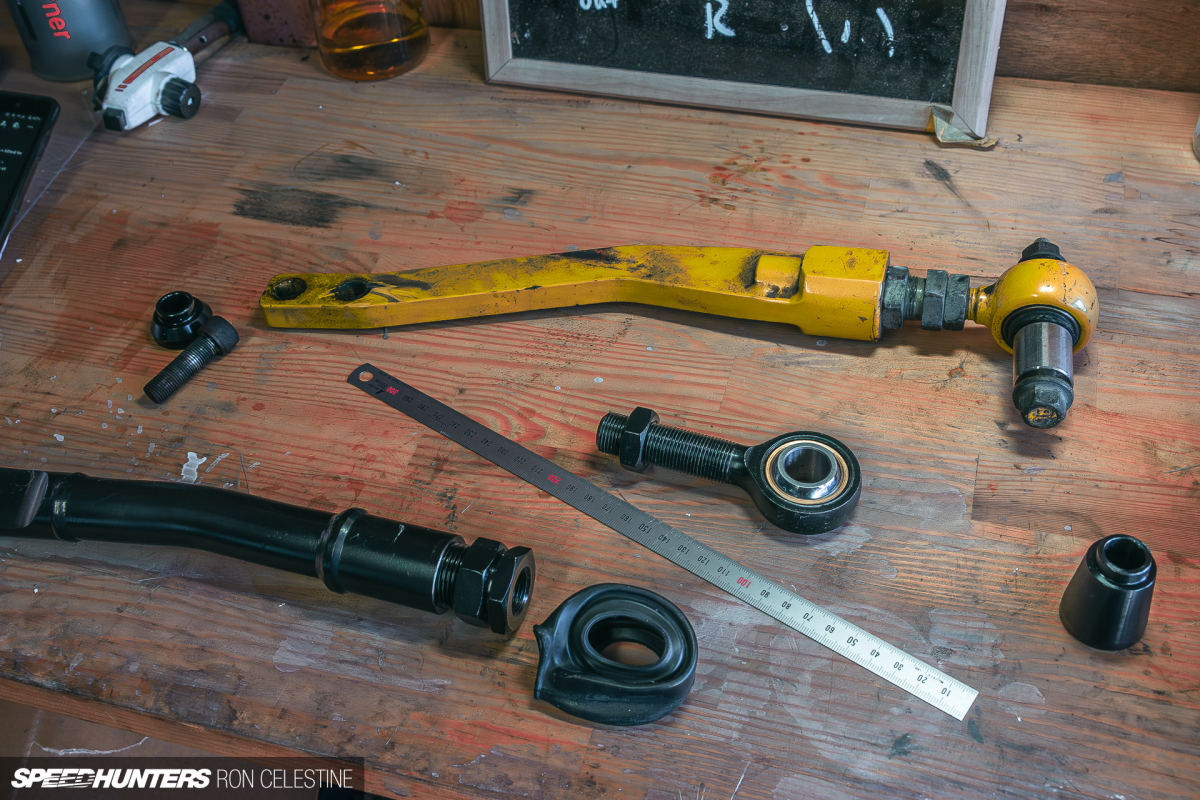

GKTech came to my rescue once again with its tubular caster arms, and swapping them in was reasonably straightforward. With the sway bar having access to its full length of travel and another session on my alignment rig, the handling became even more sublime.
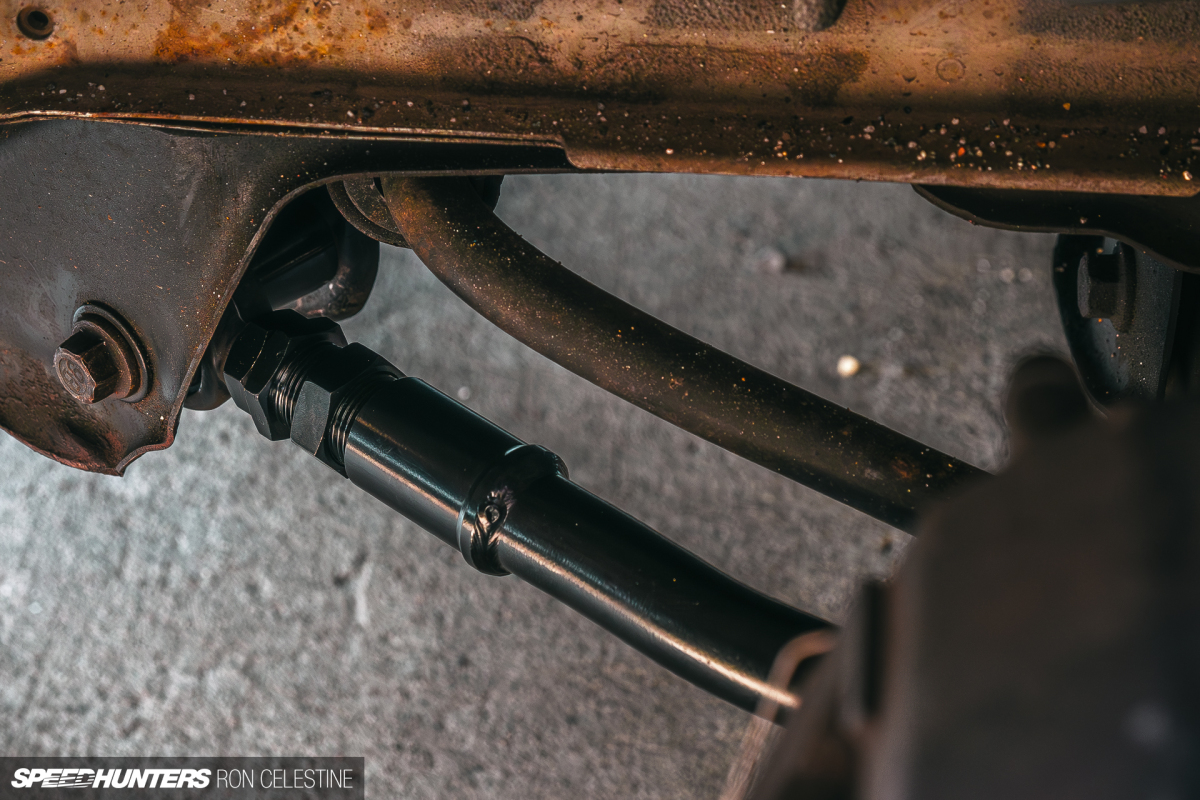
It’s funny how eliminating binding in your suspension can make a big difference.
The Goofy Clutch Pedal
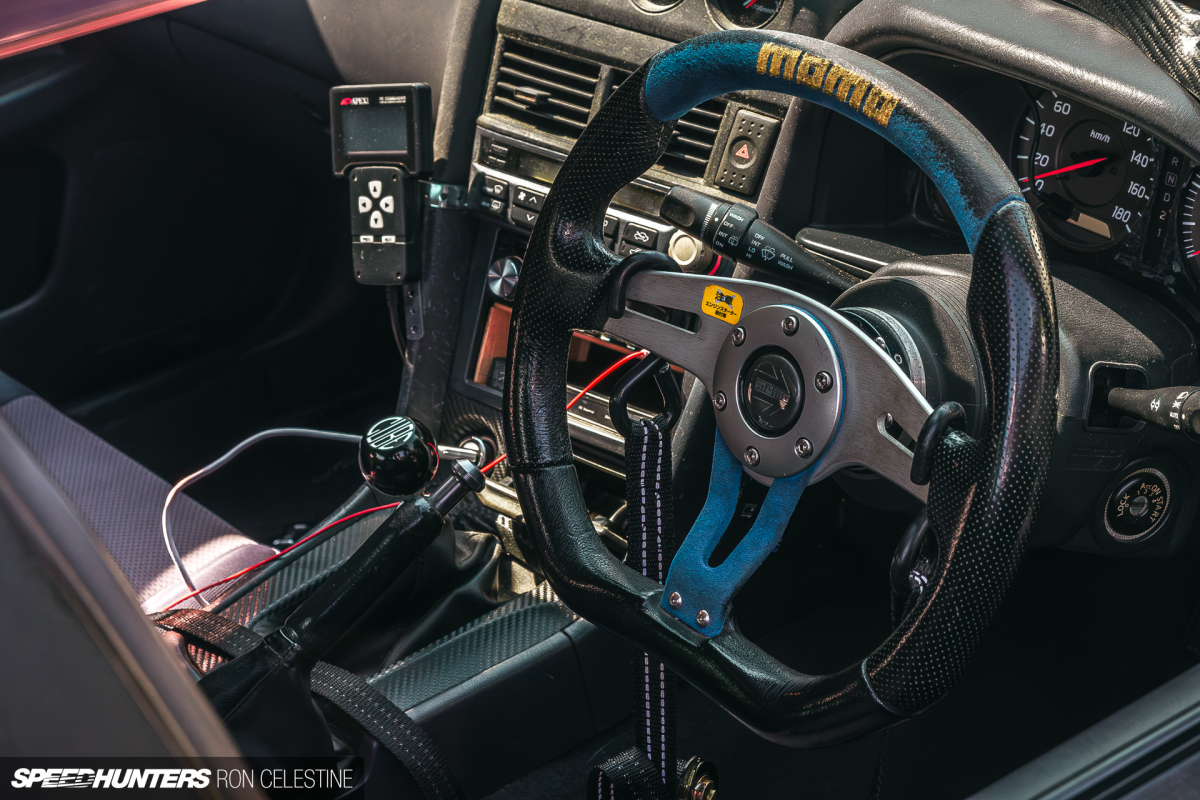
Buying a car with a transmission swap is bound to be a bit goofy. Everything is unknown; countless corners could have been sliced off to make an installation work. The car came with an OS Giken single-plate metallic clutch, and I had already replaced the slave master, rebuilt the clutch master cylinder, and installed a Premium CUBE Speed short shifter.

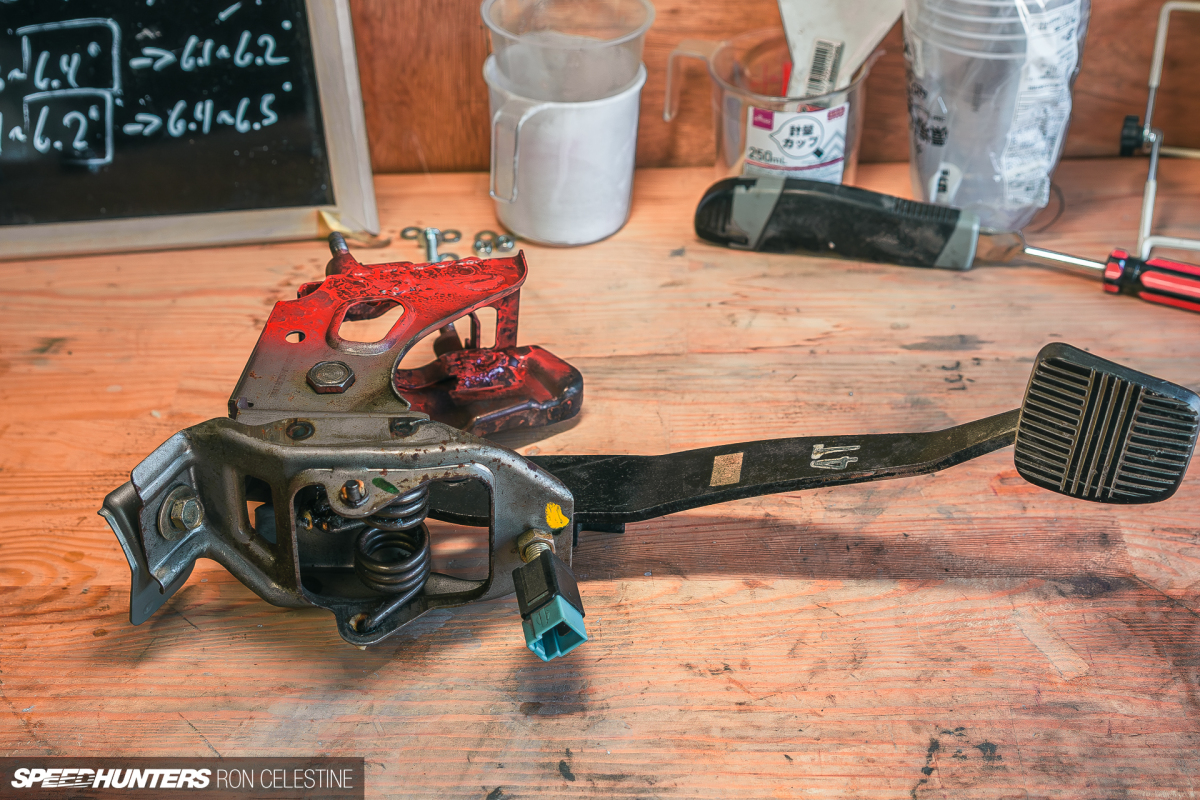
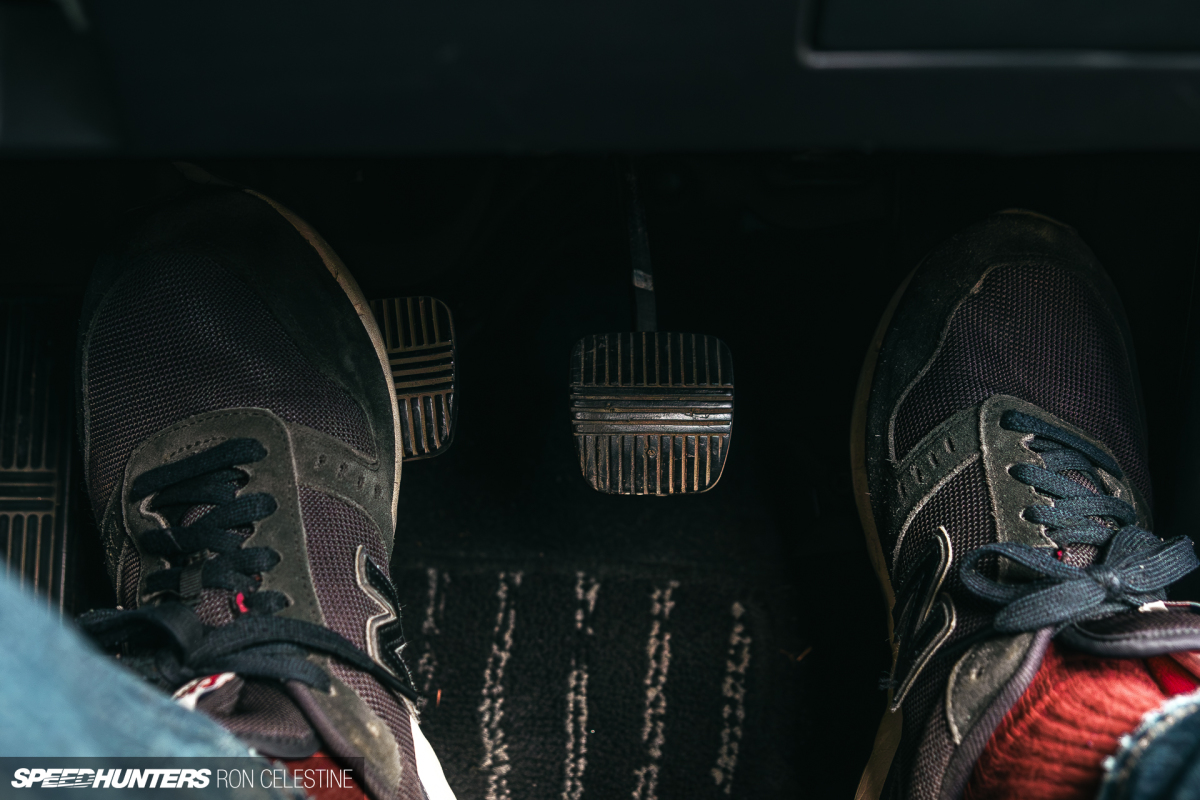
However, the clutch pedal always seemed odd to me. It was abnormally close to the brake pedal and, for whatever reason, had red rattle can spray paint on the top half.
Upon closer inspection, I noticed the pedal had been hammered at the bend. Perhaps whoever installed the transmission swap had tiny feet and wanted the pedals closer for comfort.
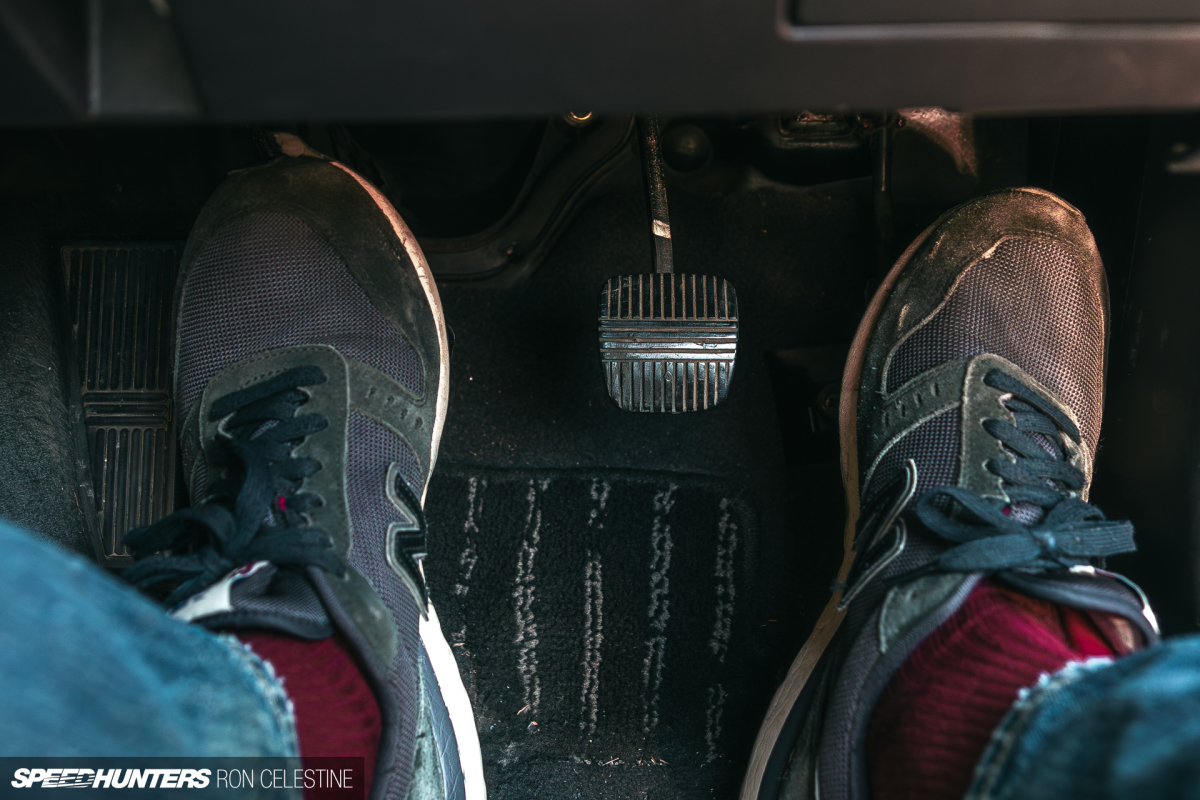
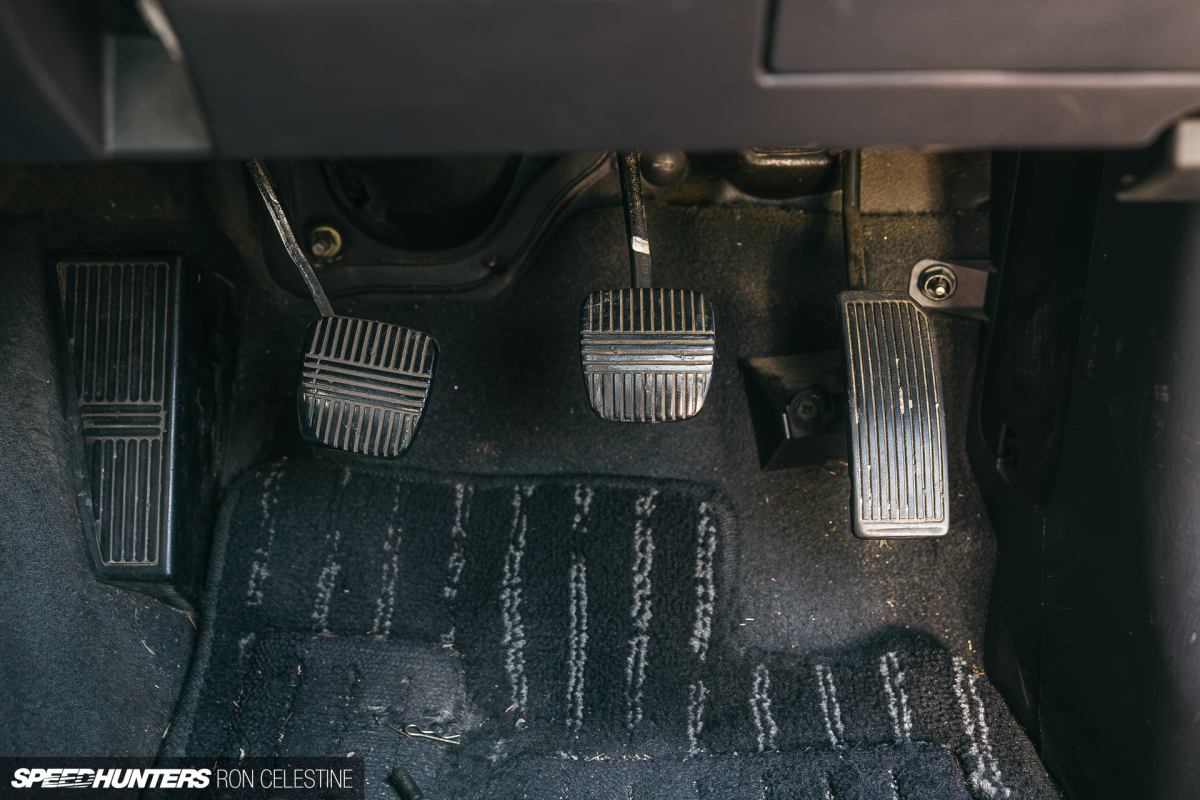
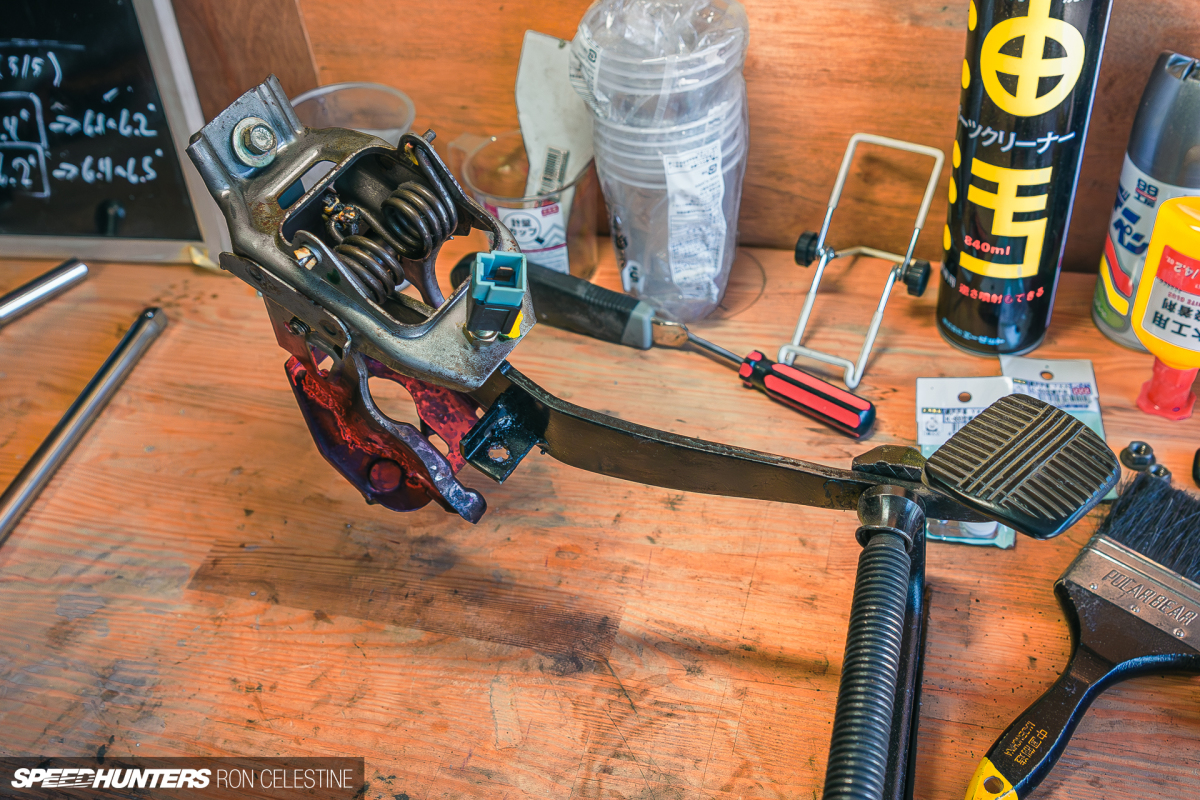
I don’t have tiny feet, and if I could bend the pedal back to its original position or even further toward the foot rest, I could drastically improve the ergonomics and stop tweaking my left foot into an awkward position to depress the clutch. Re-bend complete – I’ll address the funky look later, I promise!
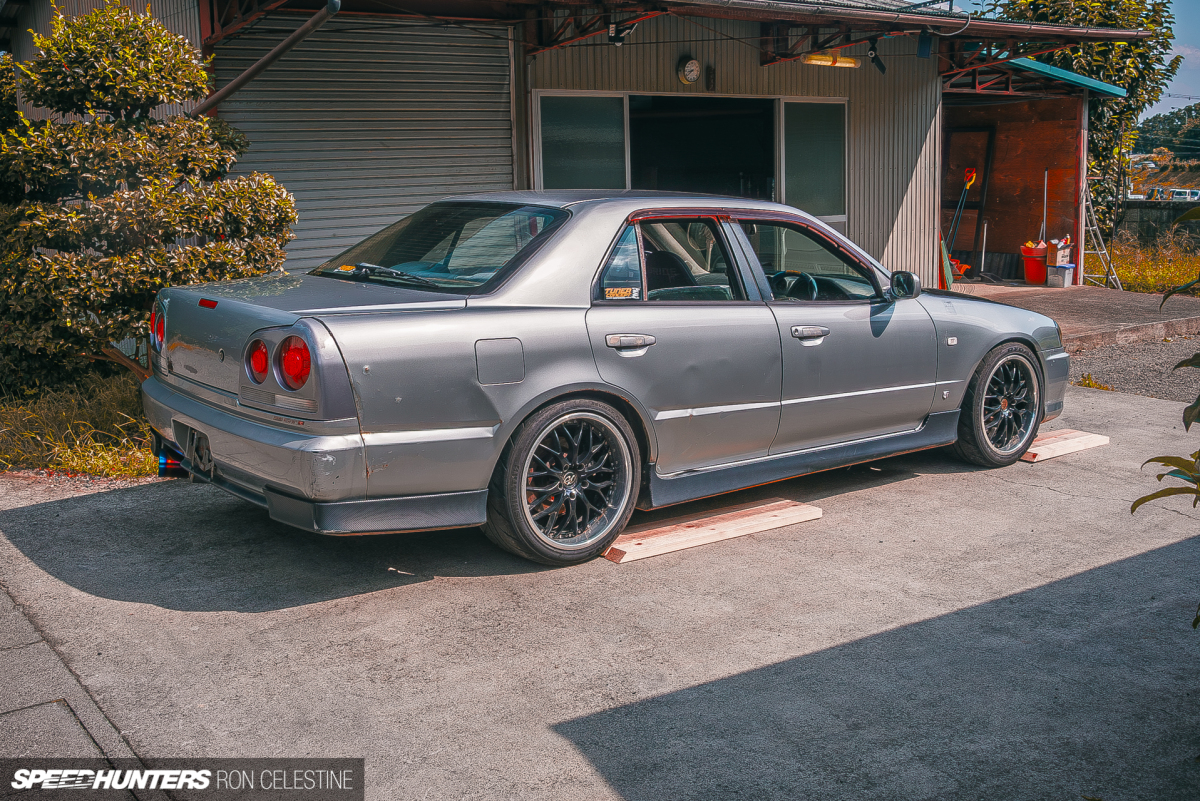
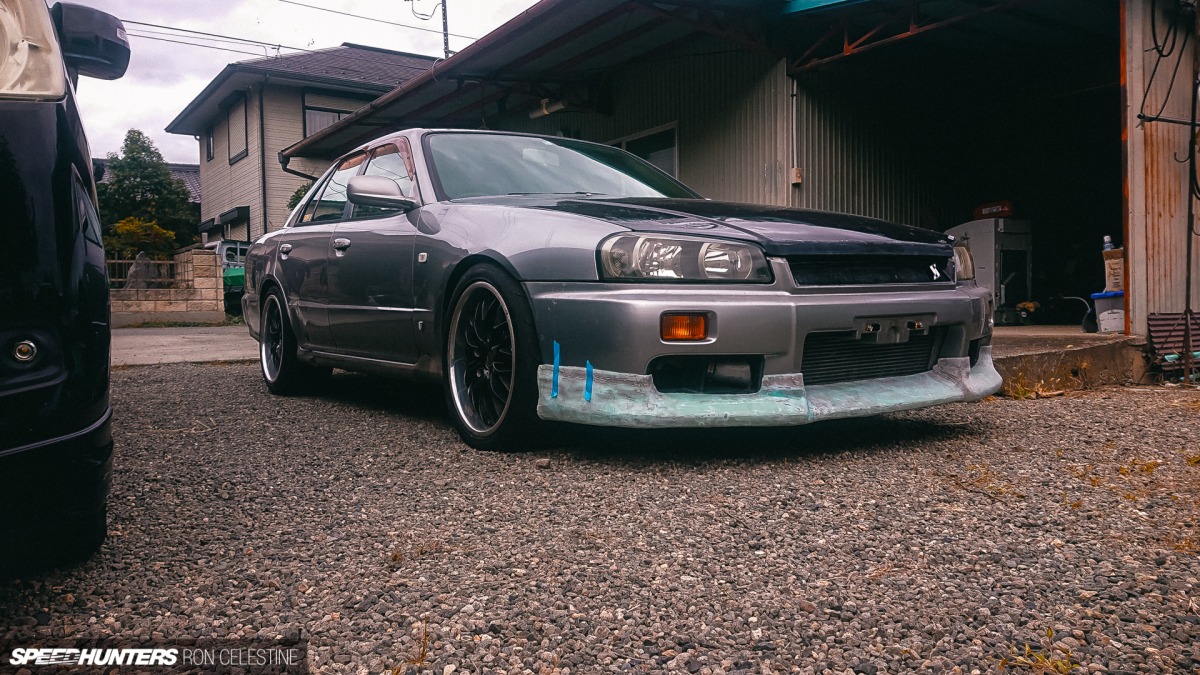
Exterior… Finally
I’ve mentioned before in my SH Garage updates that my Skyline is as much an education piece as it is a partner. If there is anything that I’m curious about or methods I’d like to test out in the real world, Rough is my sandbox.
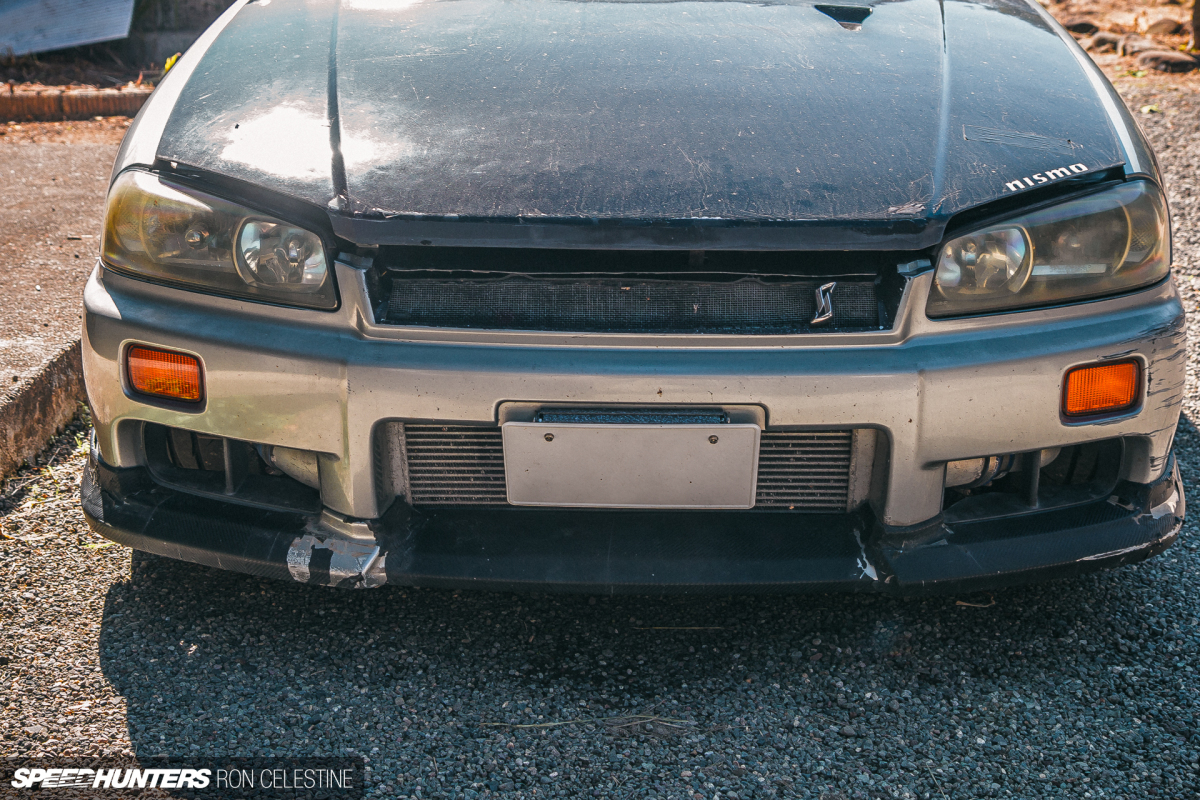
My goal is to develop a new skill set so I can create a functional aero kit from carbon fiber. Having spent countless hours researching and with Rough driving like a treat, now was finally time to start addressing the rough exterior.
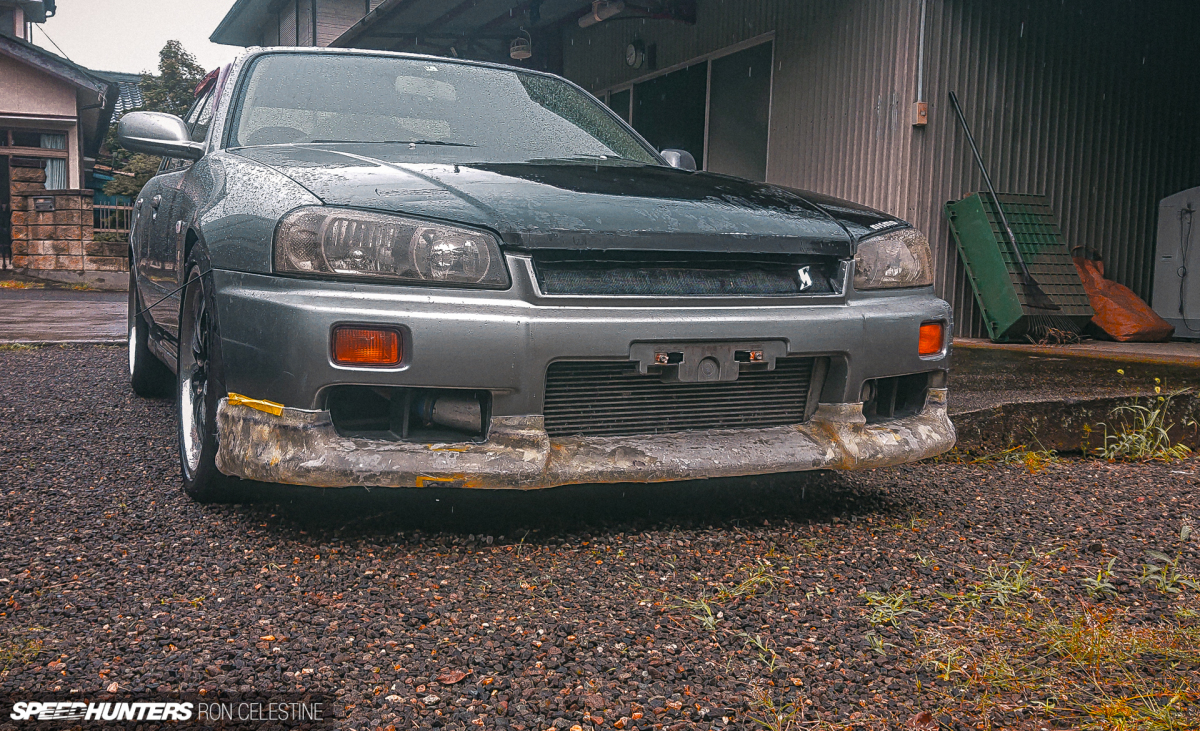
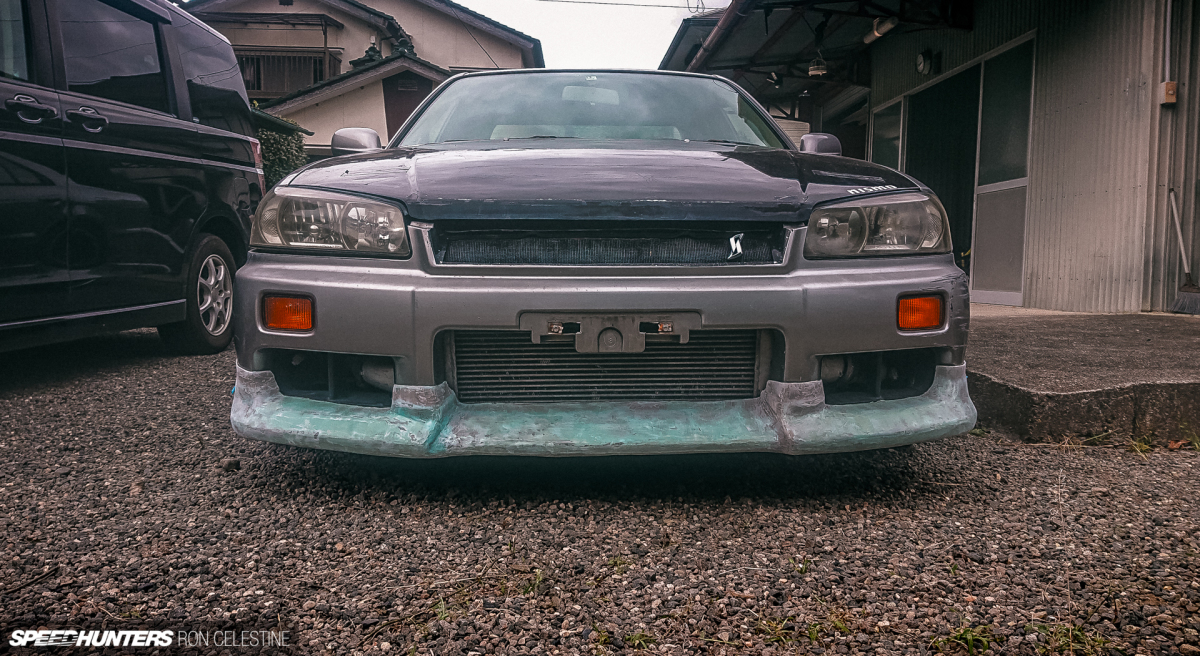
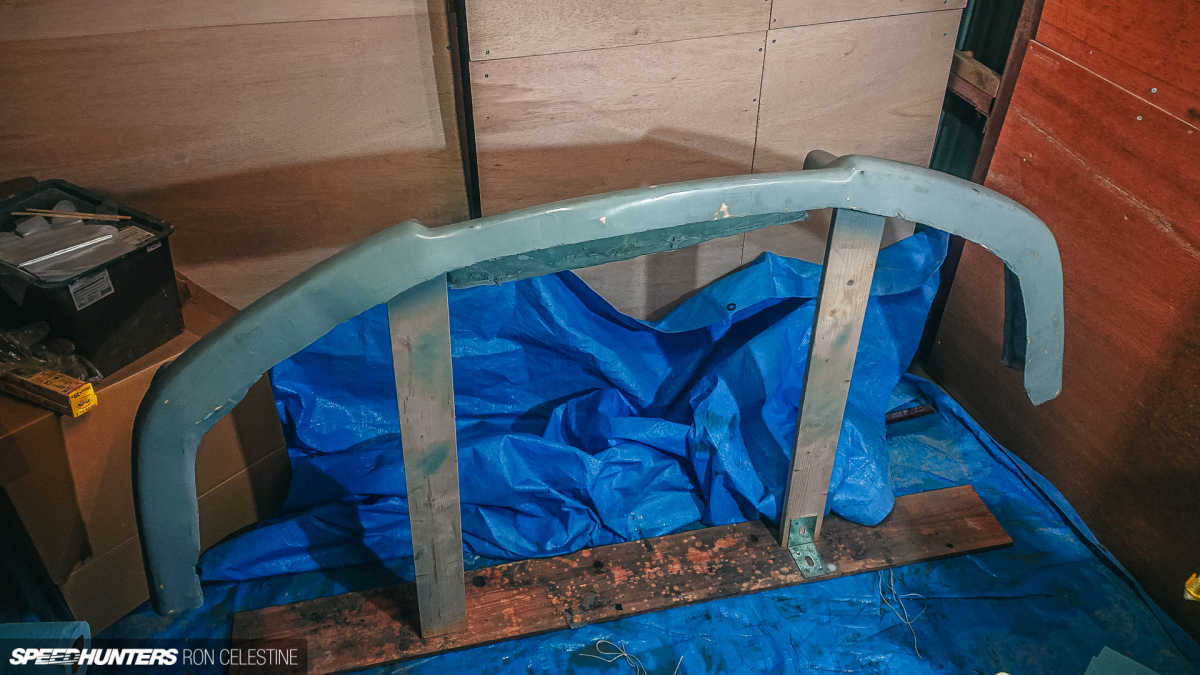
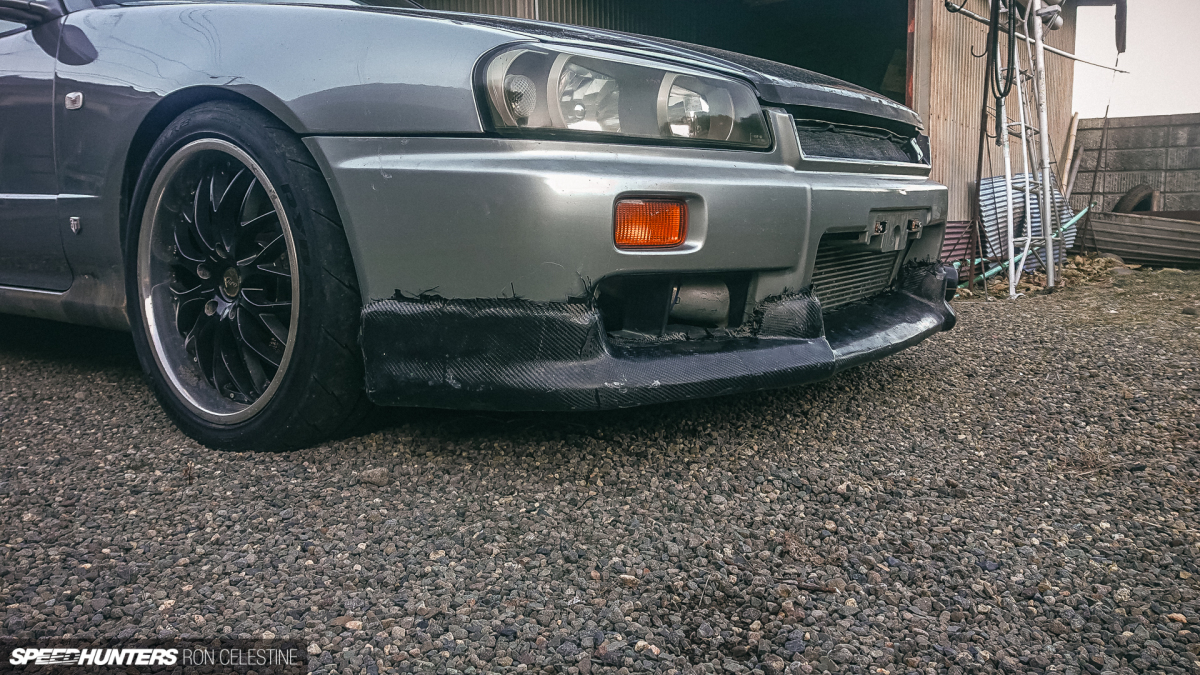
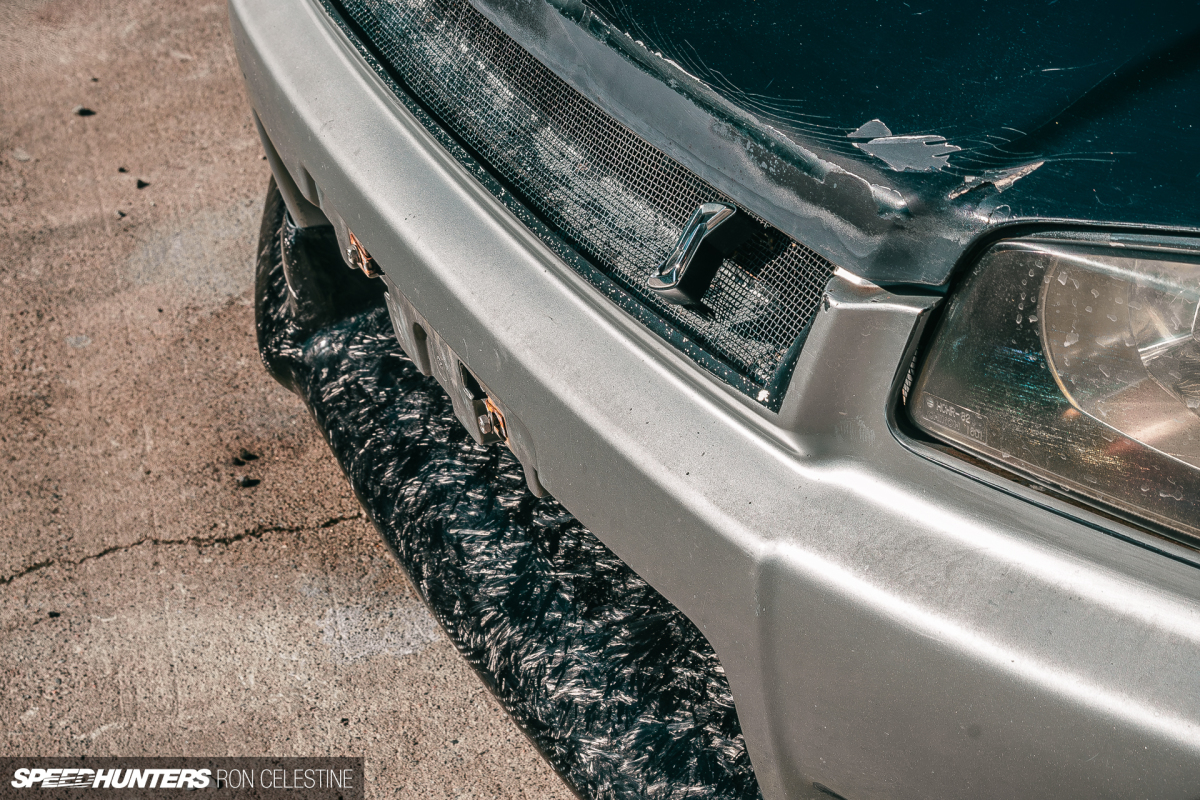
The OEM front lip that came with the car has been one of my biggest eye sores. In my infinite wisdom, I thought creating a carbon fiber lip would be easy, never mind that I have never constructed anything of this size before or even made a proper mold. So why not create a lip made with a finicky and unforgiving material?!
Diving Into The Unknown
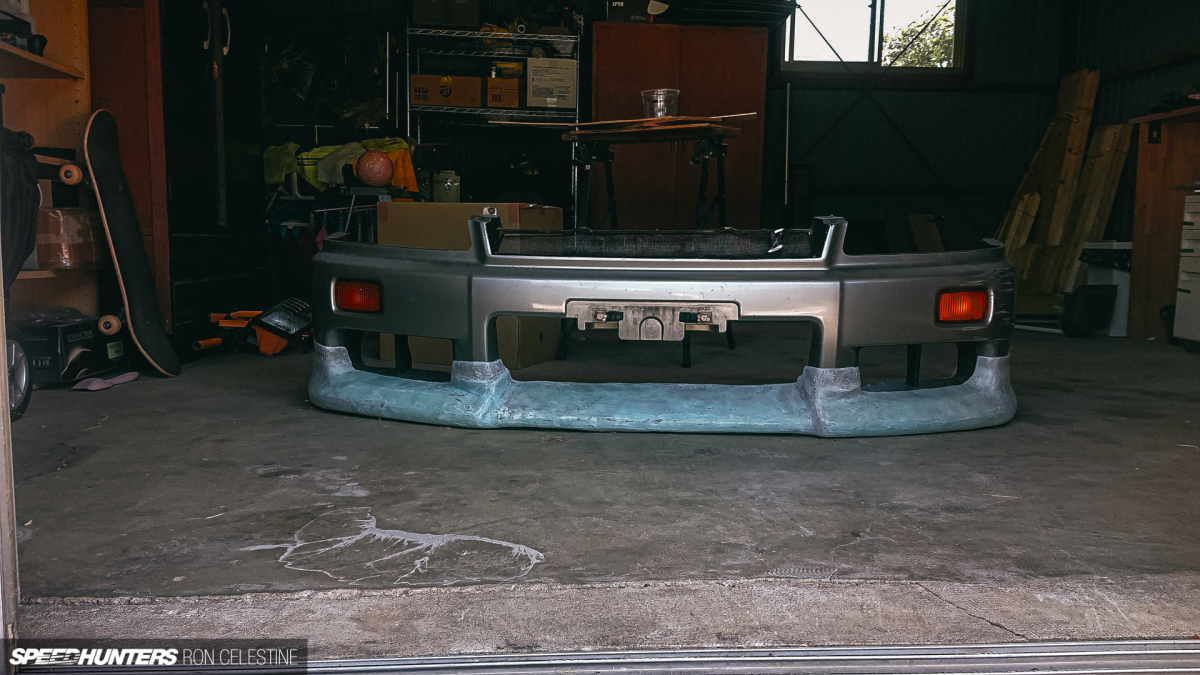
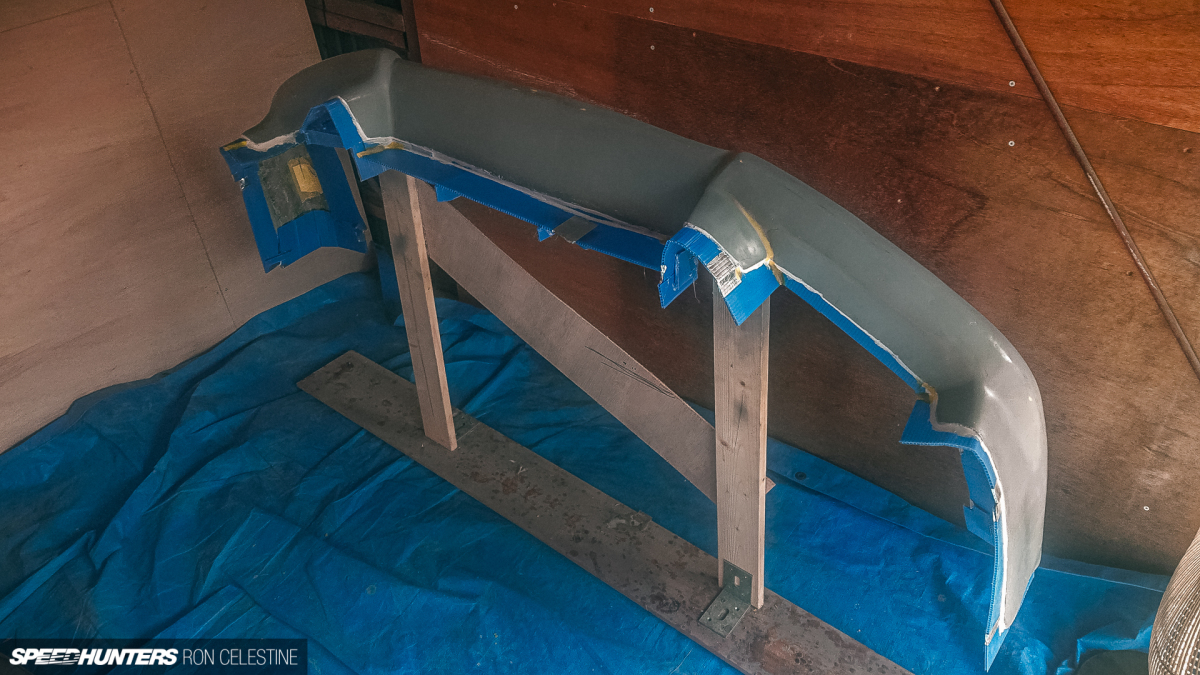
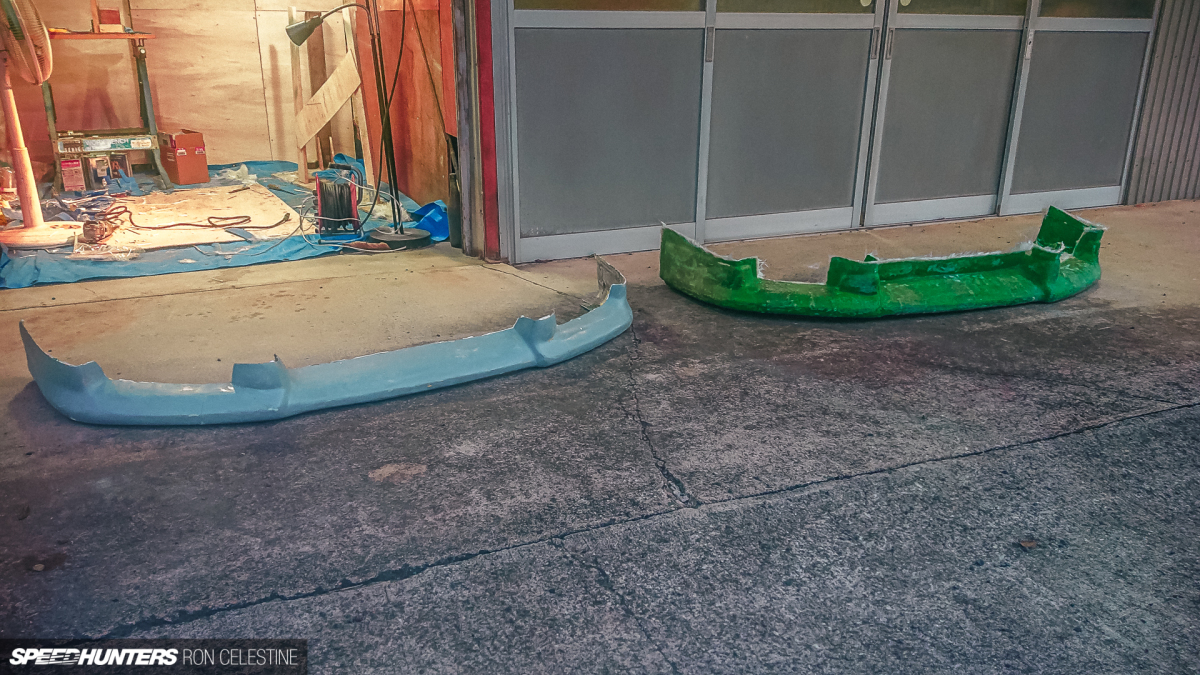
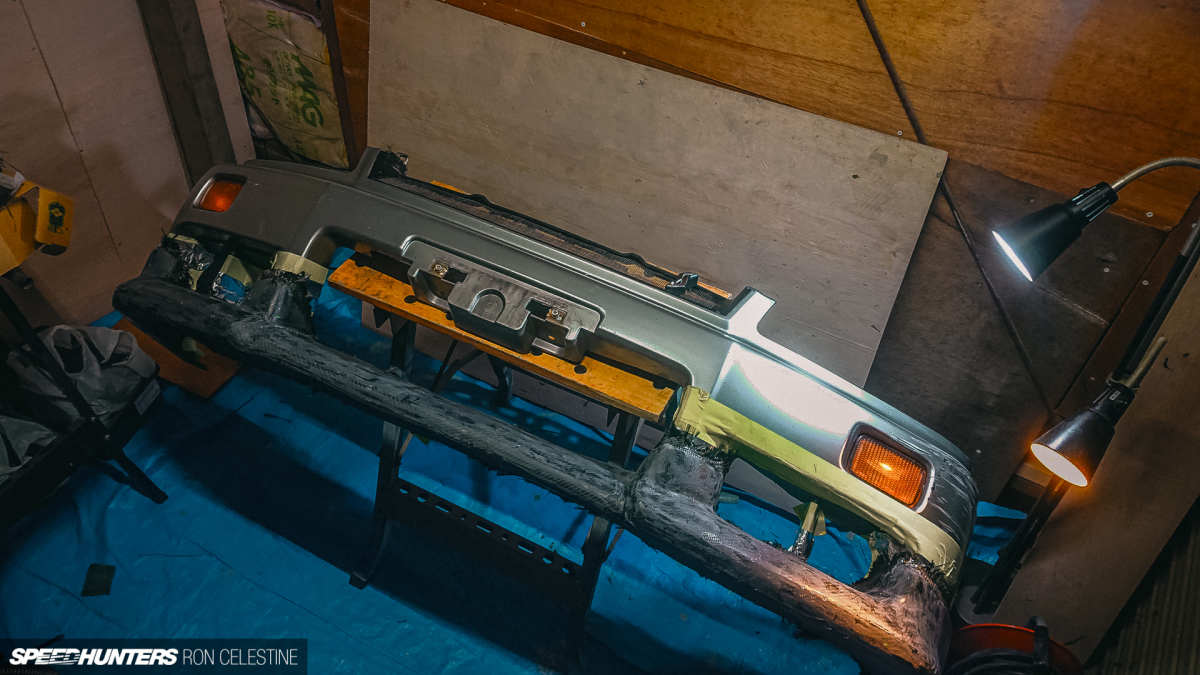
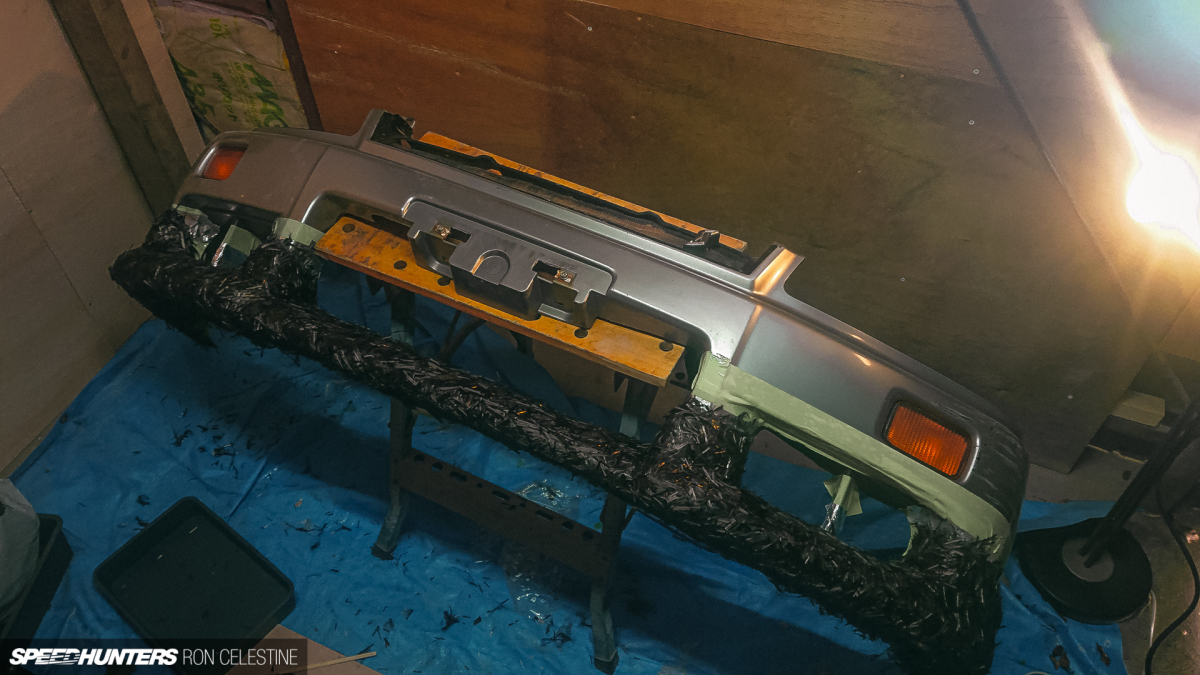
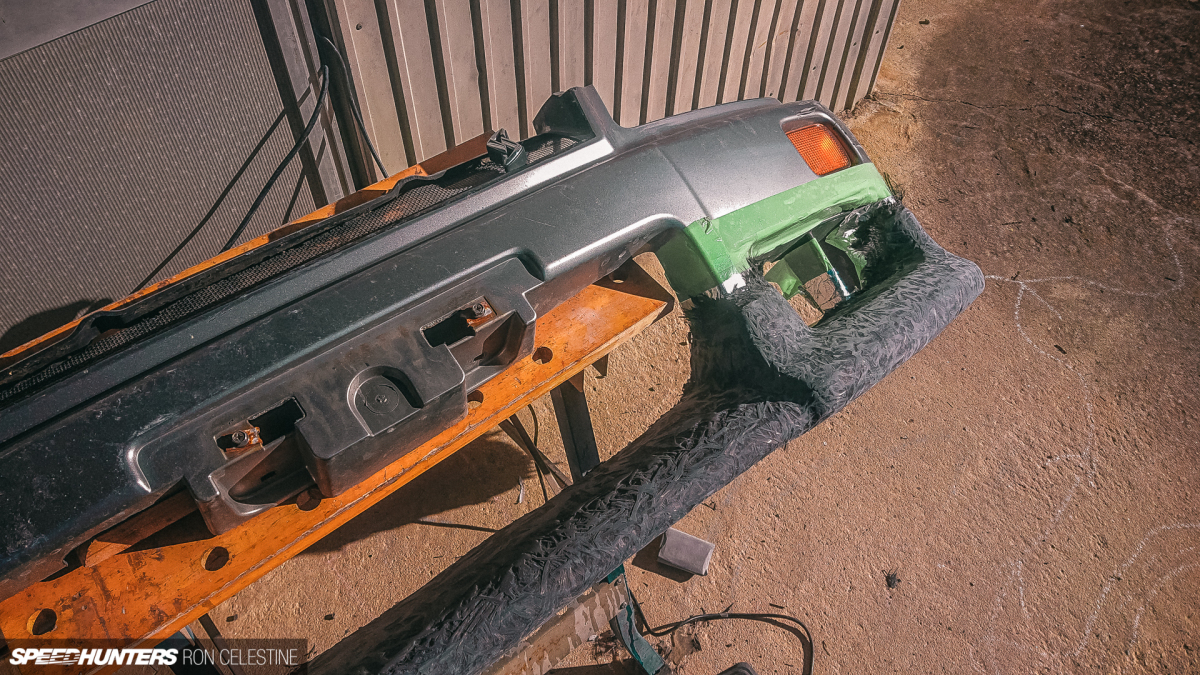
For this project, I decided to forgo the care of function and just focus on making it look decent. I used the original lip as my base for the part, wrapping it with aluminum foil and tape to form a barrier from the resin.
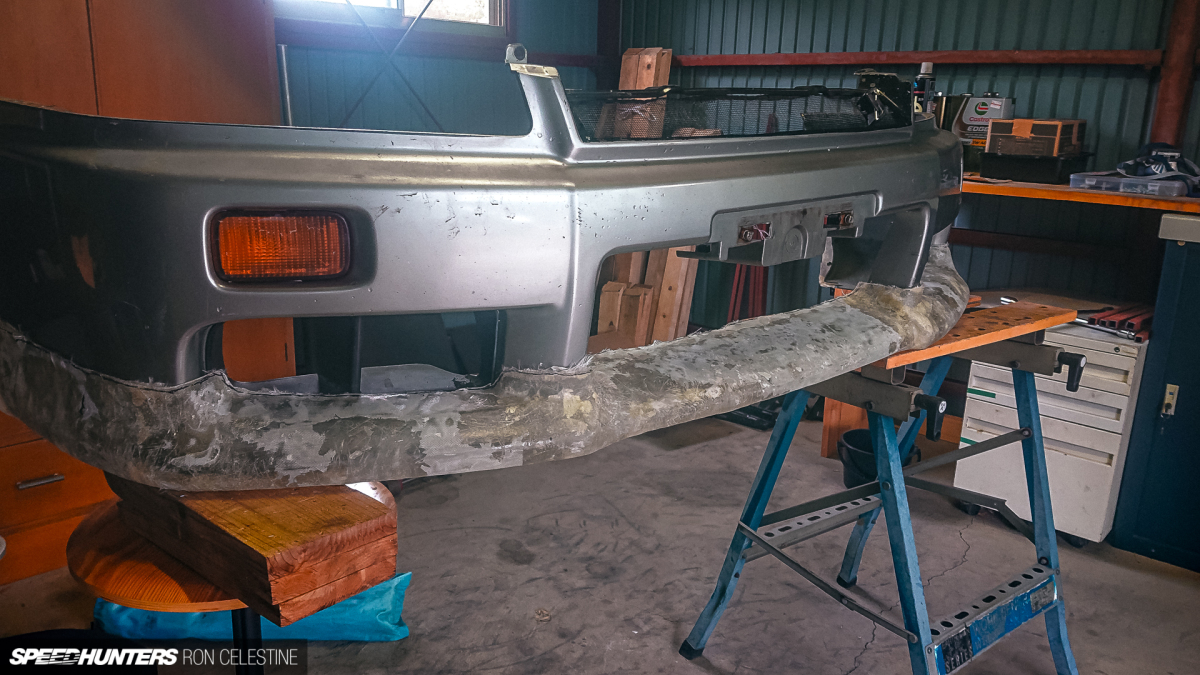
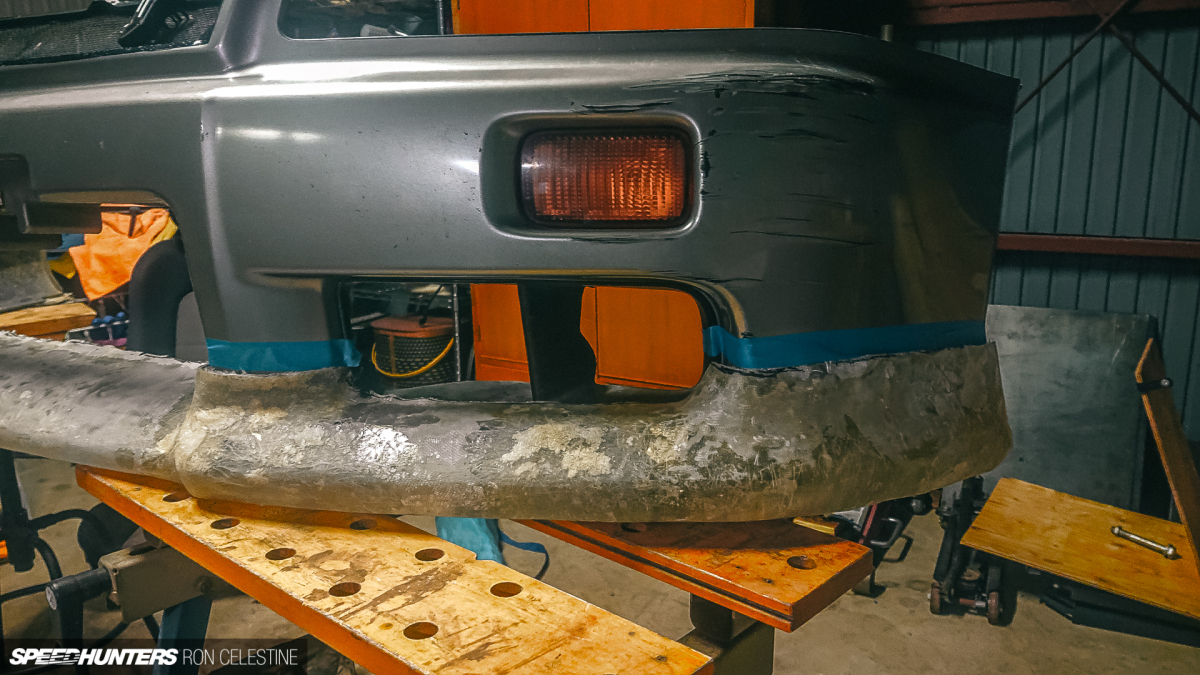
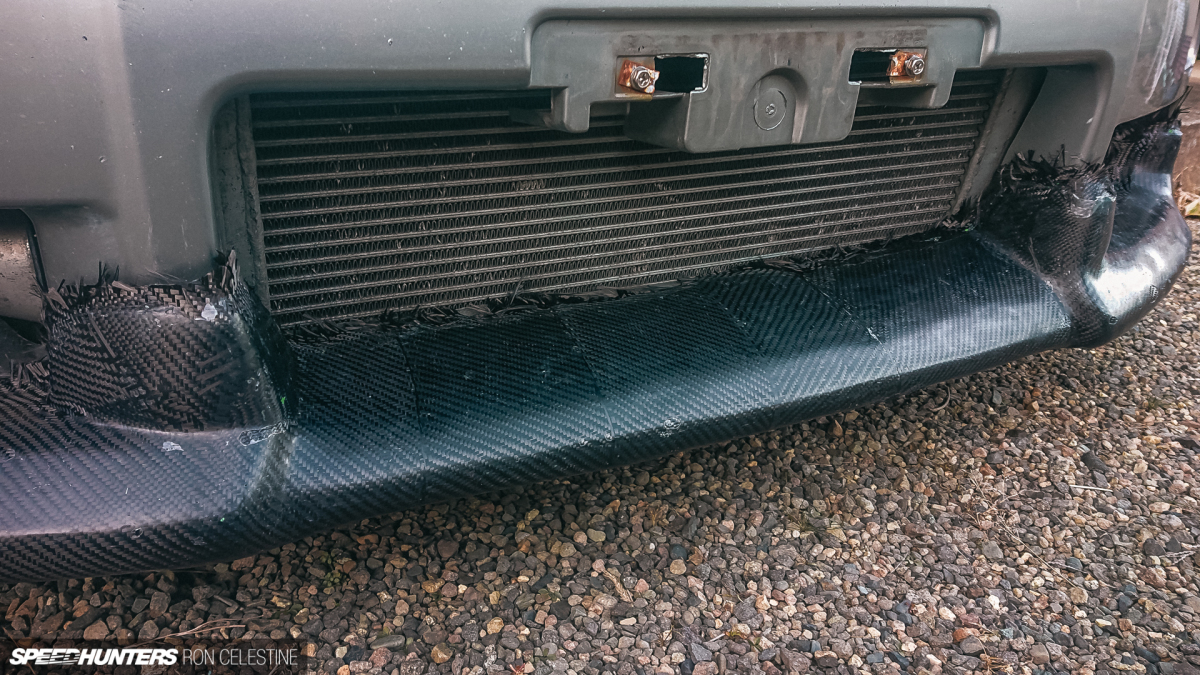
I wanted to alter the design to make it more of my own and improve the fitment on the bumper. I filled in the gap on the passenger side, which was designed to clear the oil cooler vent on the OEM bumper, and extended the flanks to rest higher on the bumper to increase the visual impact.
Where the OEM lip is subtle, I wanted this to be the centerpiece for your eyes when looking at Rough front-on.
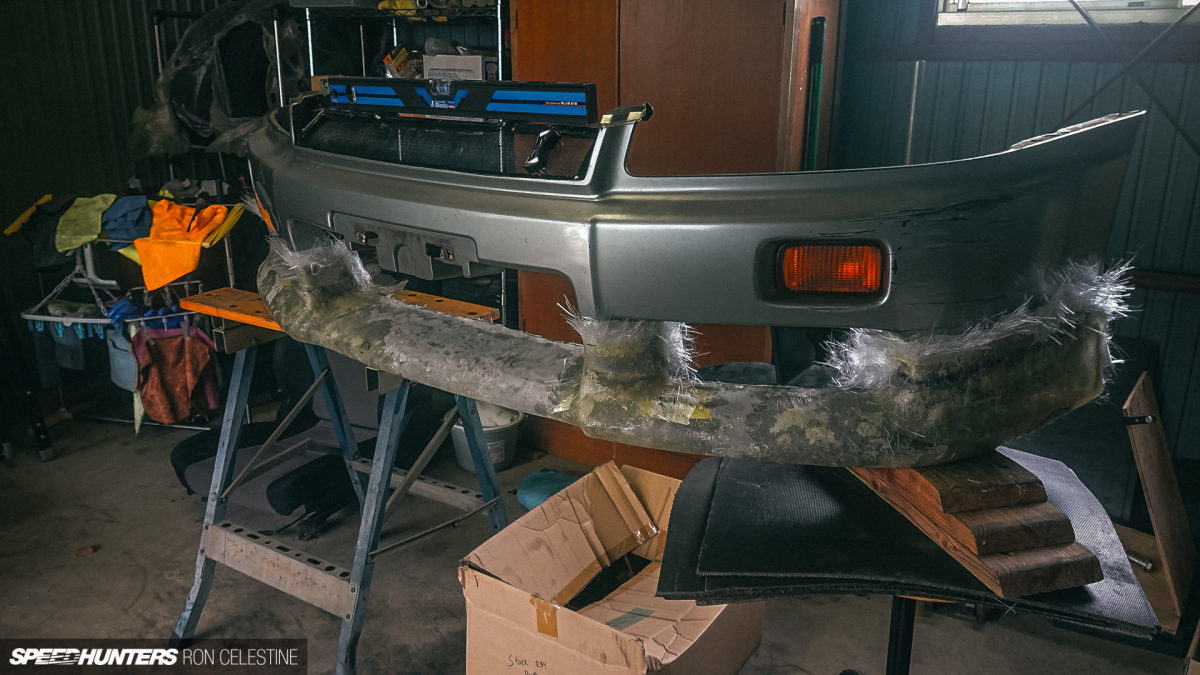
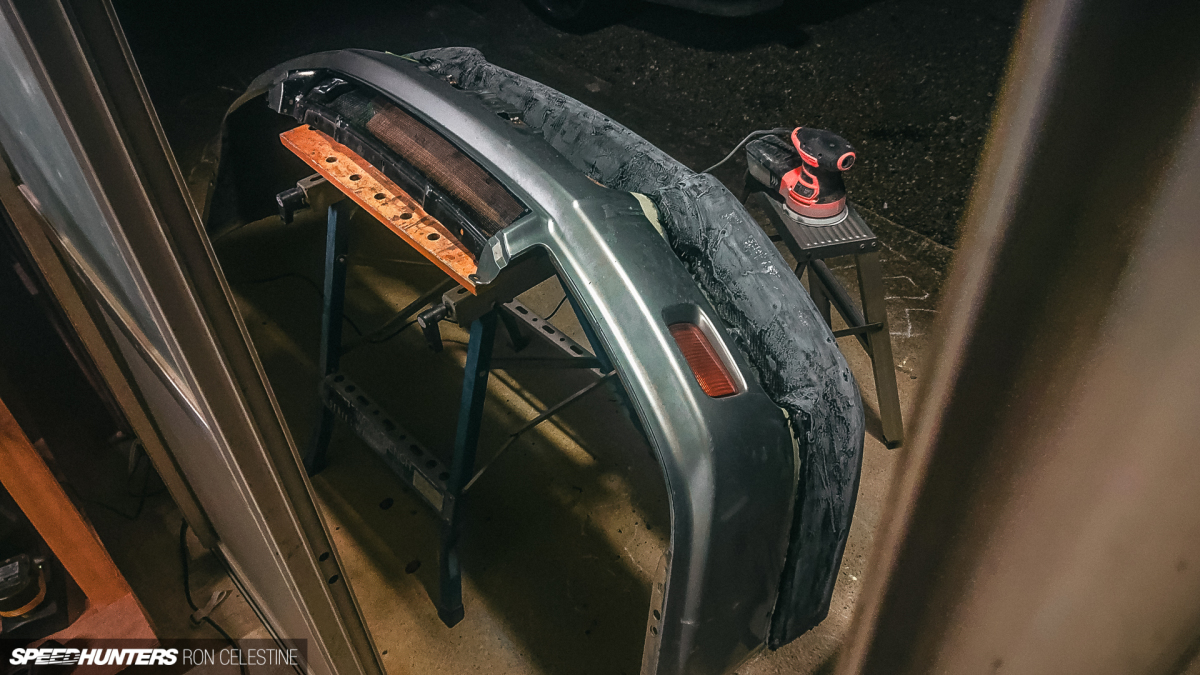
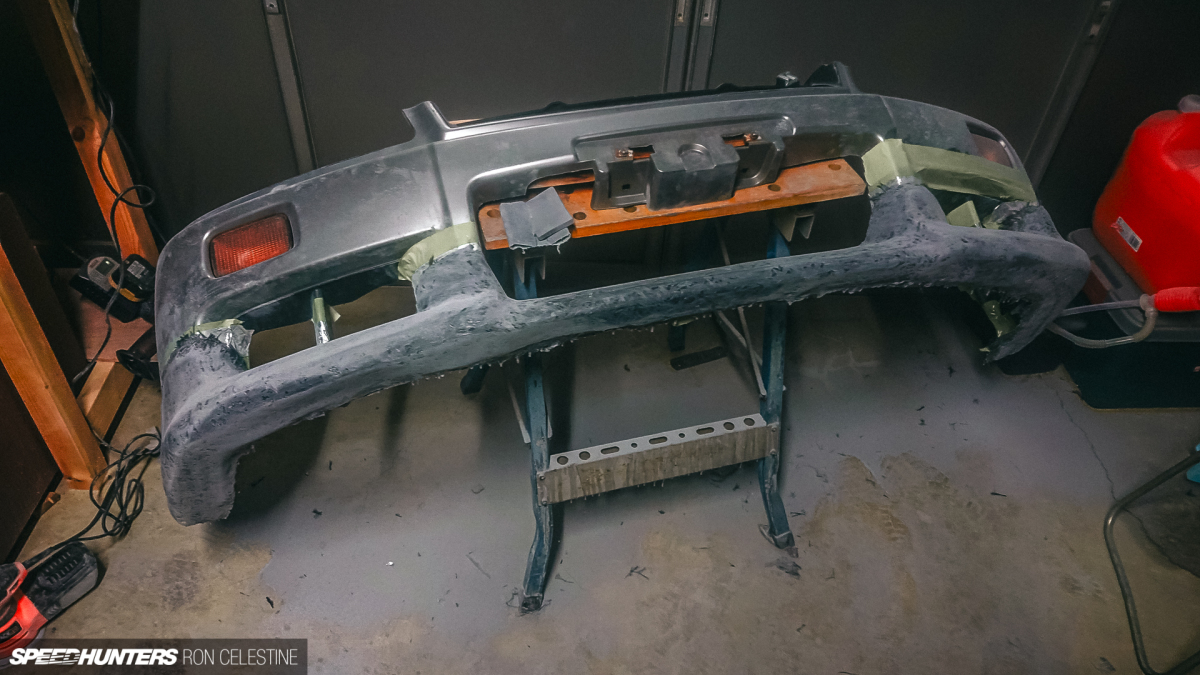
With my fiberglass lip trimmed and fitting the way I was happy, I covered the entire lip in bondo (body filler) to give me a layer I could sand flat. I had bought what I thought was a ‘regular’ type filler from the local home center.
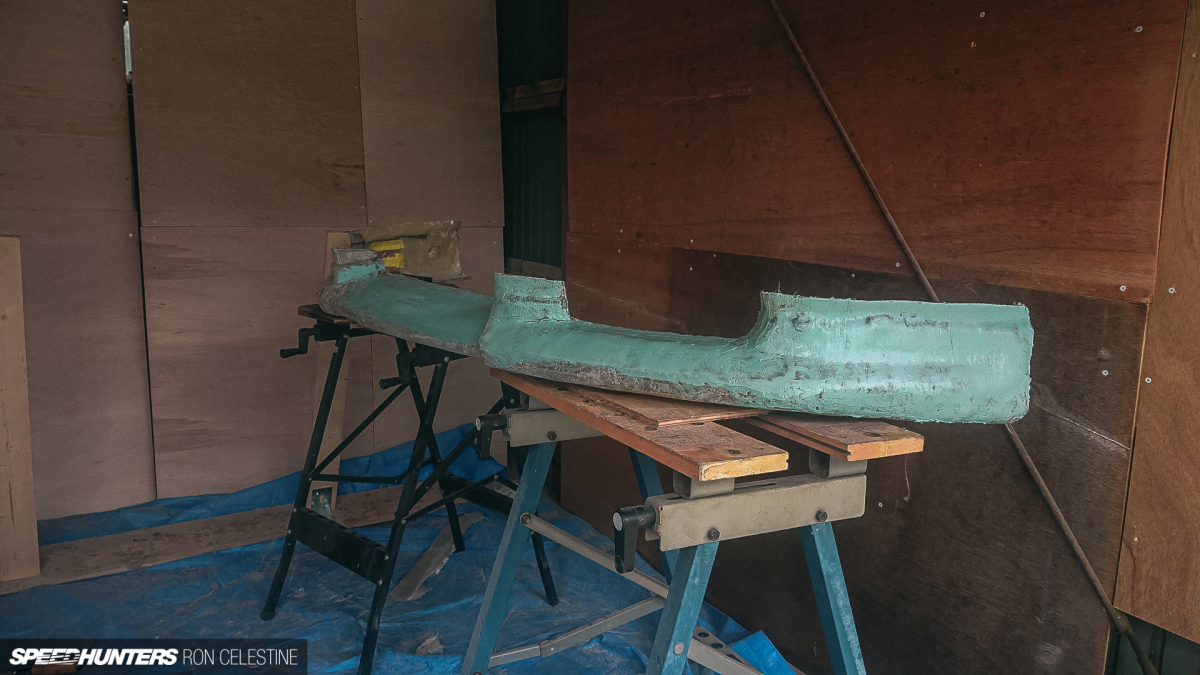
For whatever reason, the bondo didn’t cover the surface area I had expected it to, and it was a pain to build up layers.
Deep down, I knew something wasn’t right when I used an entire kilogram of material to cover the lip, but I pressed on to primer regardless.
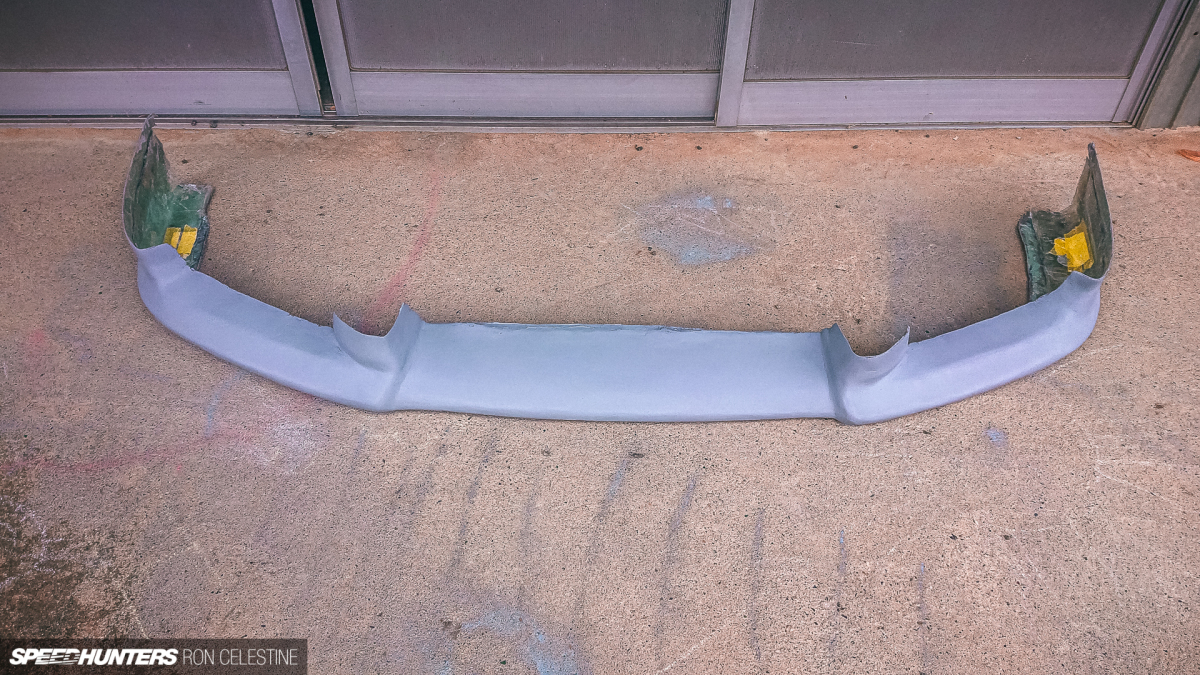
I used an automotive rattle can to apply the primer coat. Don’t do this. I didn’t know it at the time, but it was going to bite me in the ass when it came to mold cleanup.
The primer revealed that I had done a terrible job covering and flattening the lip, even though I had spent an embarrassing amount of time sanding. Desperate to figure out what I could have done wrong, I sought guidance from Akira-san, the creator behind Studio Allica and Omomuki’s carbon fiber 911. He pointed out that the bondo I was using to cover the lip was a finishing version designed to remove pinholes and other imperfections, and he suggested that I buy a coarse body filler to cover the lip.
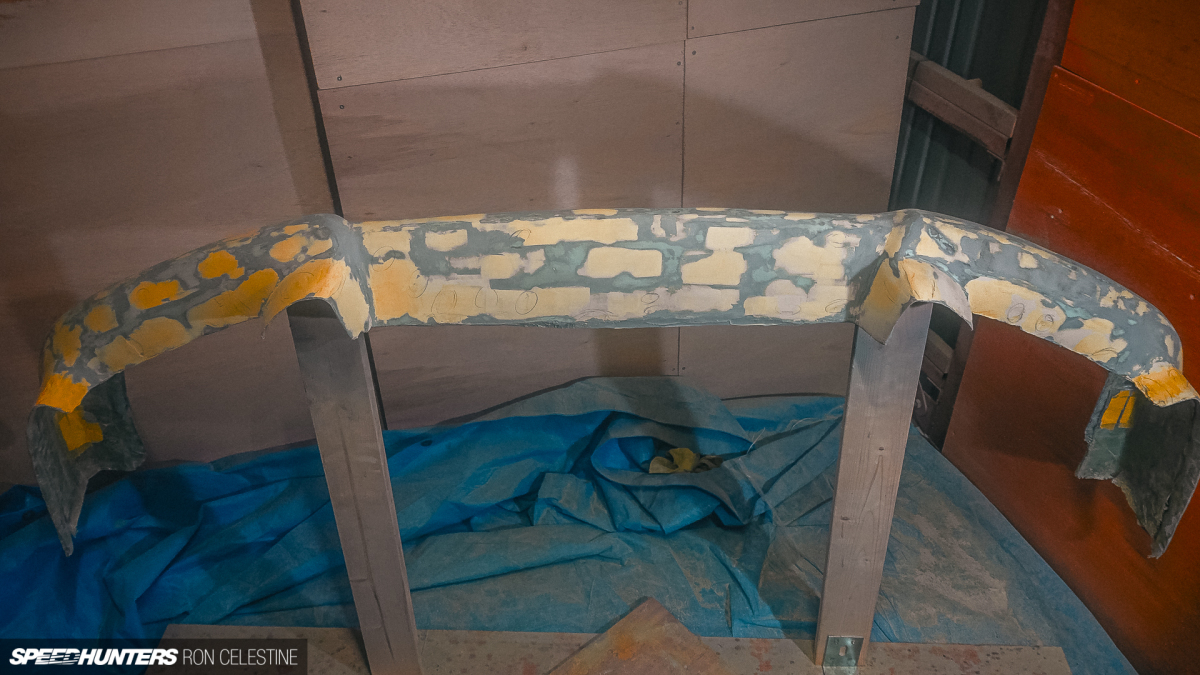
Armed with this invaluable insight, I purchased the correct bondo, made a DIY guide coat with ground charcoal sticks, and got to work getting the lip surfaces as flat as possible before adding a couple of primer coats.
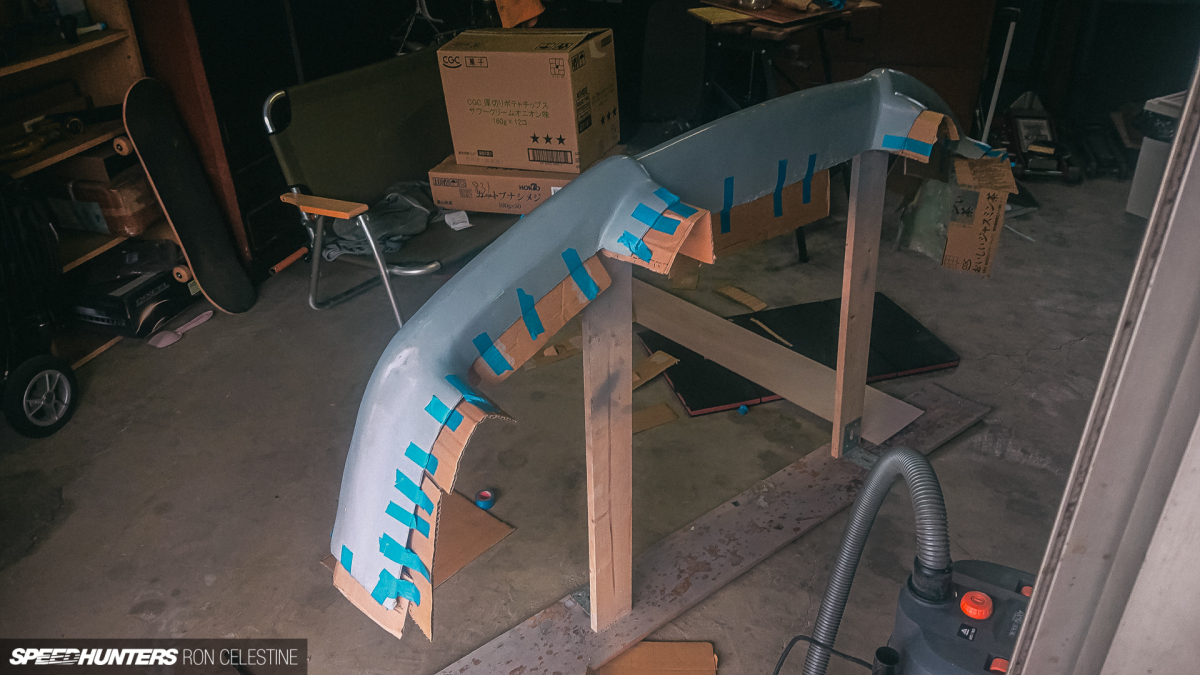
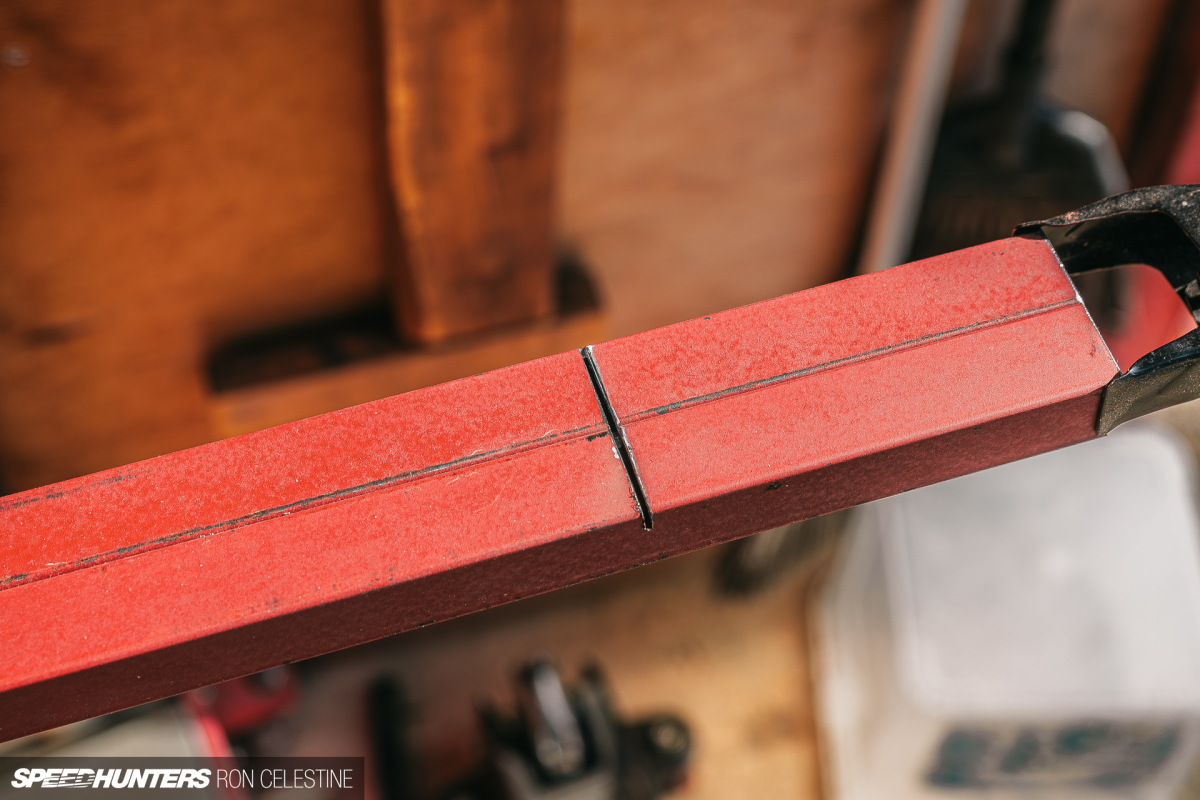
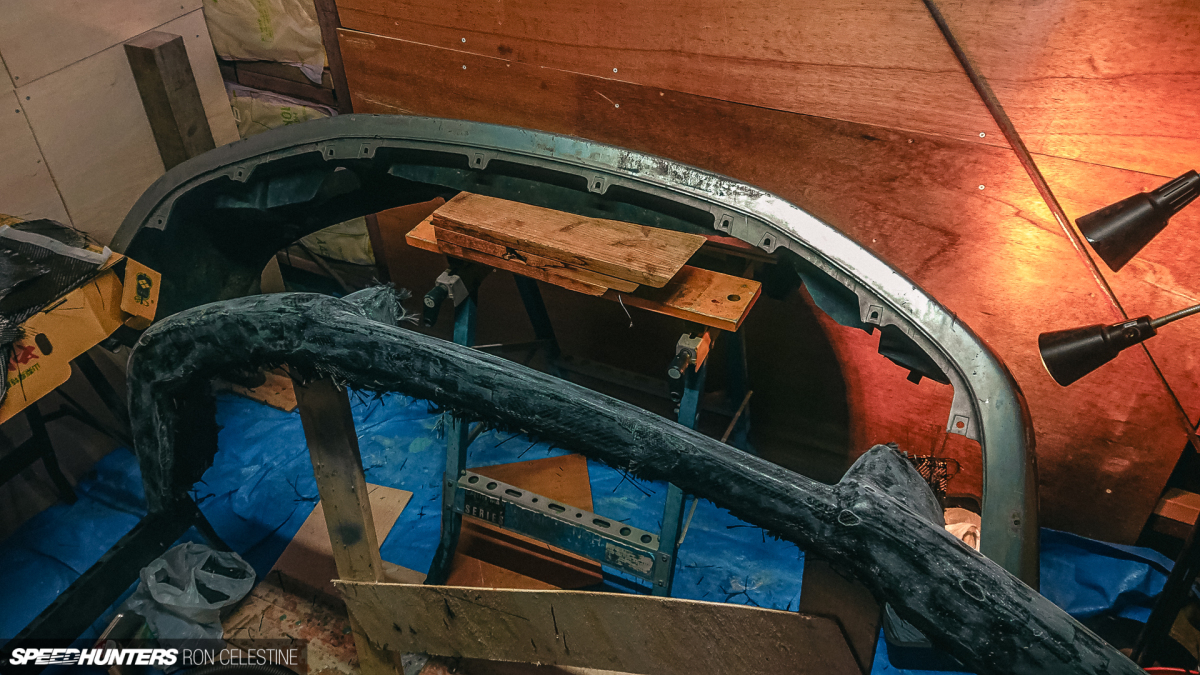
It was time to create a mold with the lip sanded to 2,000 grit and polished to a high gloss. I temporarily made flanges out of cardboard cutouts to act as templates.
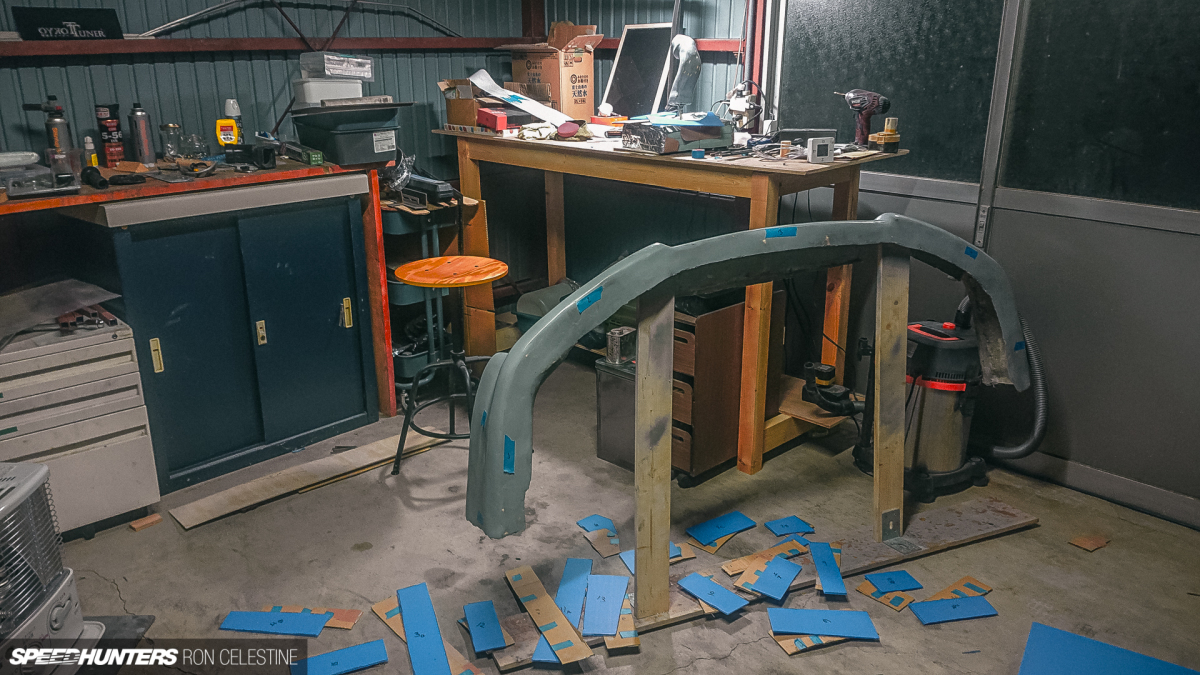
With the overall pattern to my liking, I transferred the template to a large polypropylene sheet.
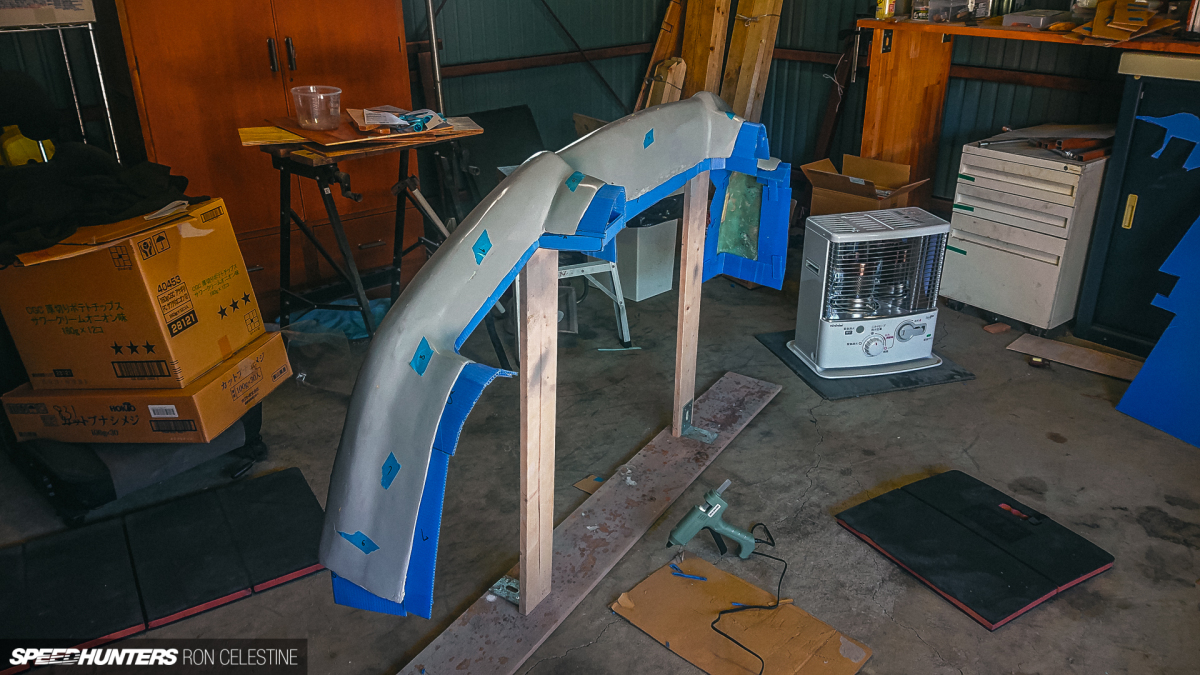
I planned on adding a healthy dose of mold release to the flanges, but resins like polyester and epoxy won’t stick to polypropylene sheets, making them excellent for flanges or as barriers for split molds. In some places, the gaps between the part and flanges were large, so I used silicone to smooth out the transitions.
Never Give Up
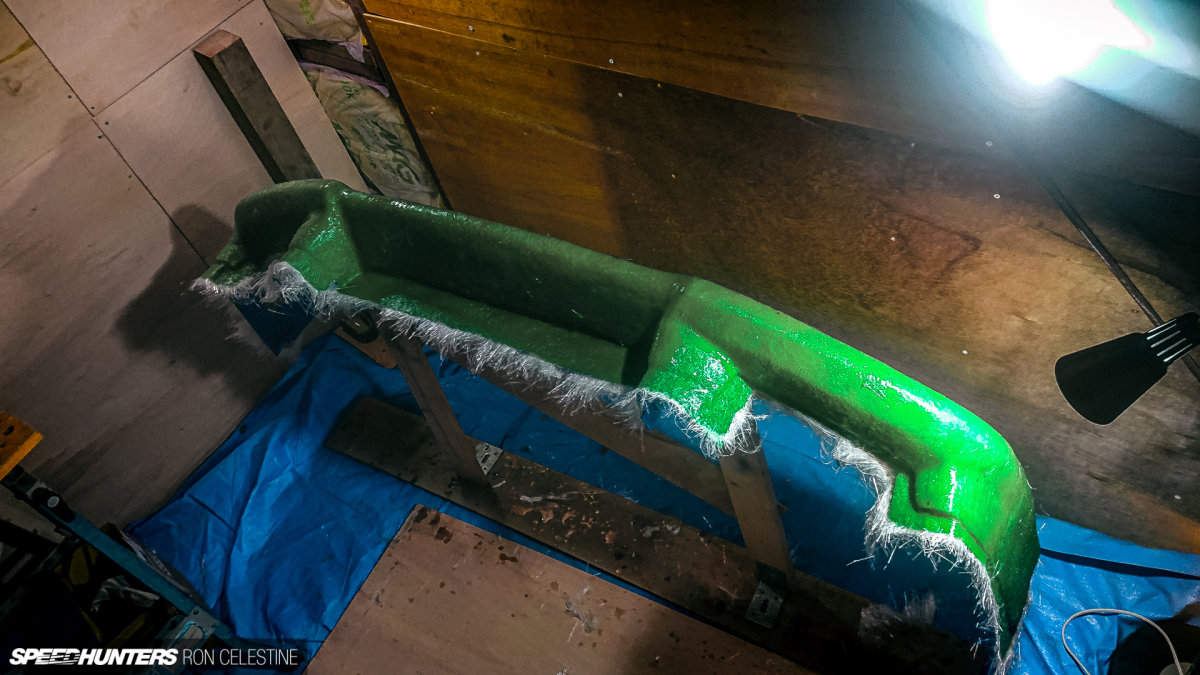
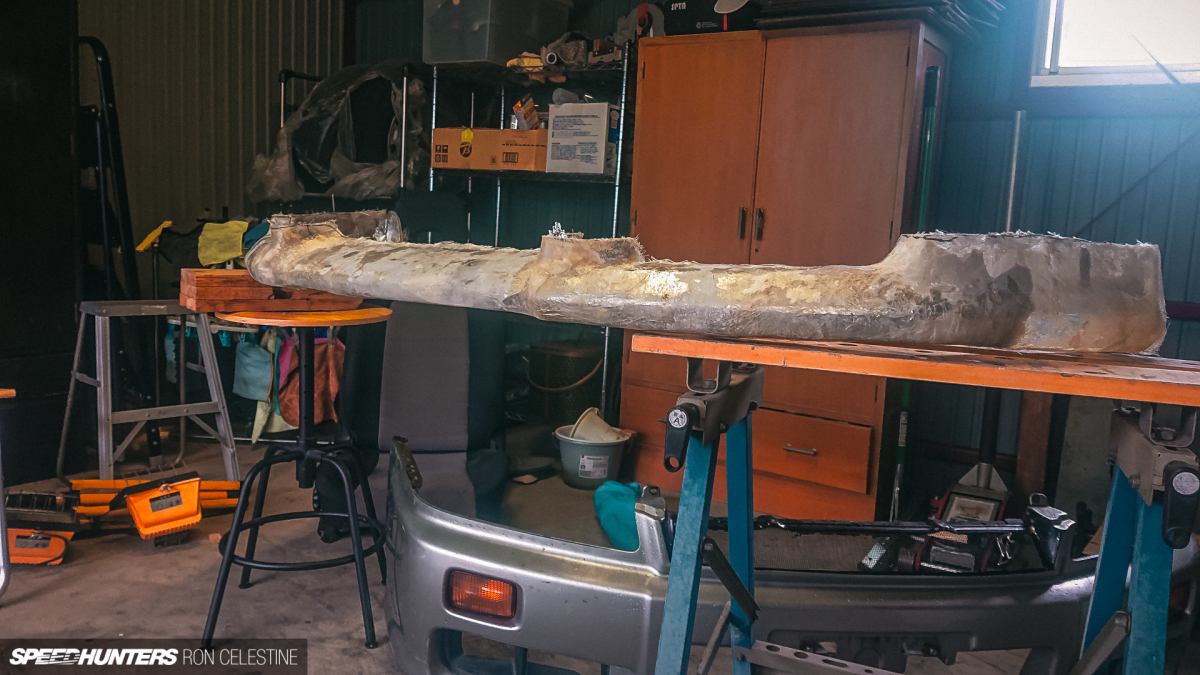
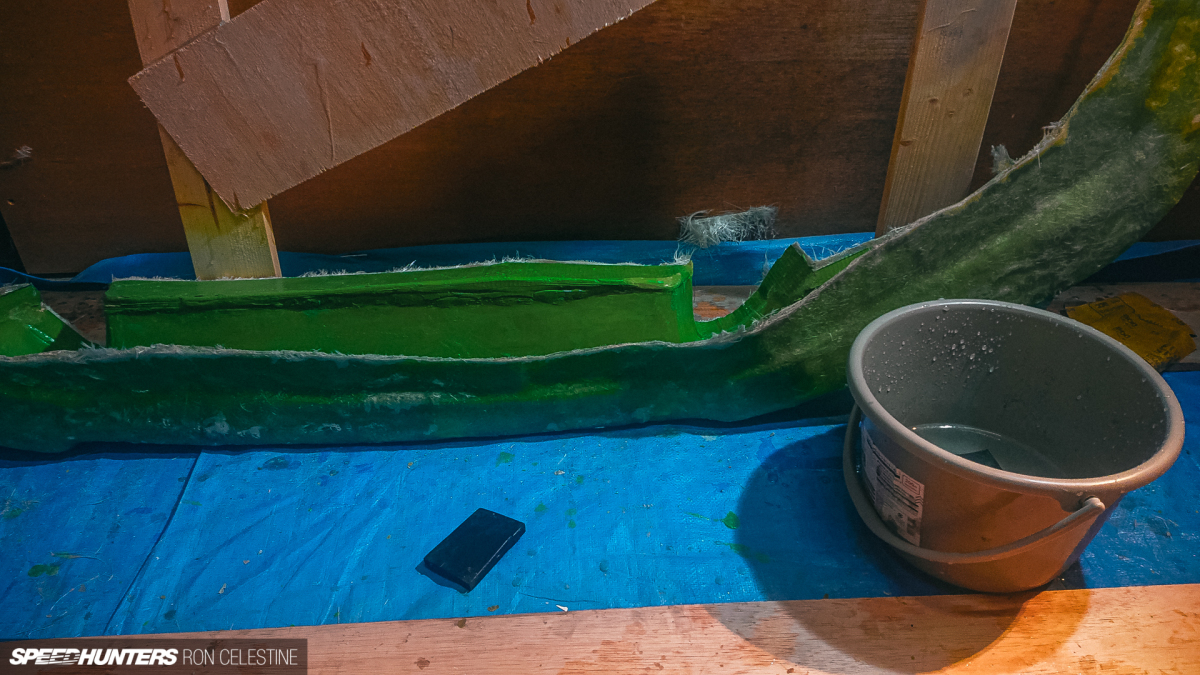
At this point, I realized that even though a lip seemed like a small part at first, its surface area is far from small. This meant I was about to use a healthy dose of gel coat and resin to make this mold. There are different ways to make the mold, and my method could use improvements.
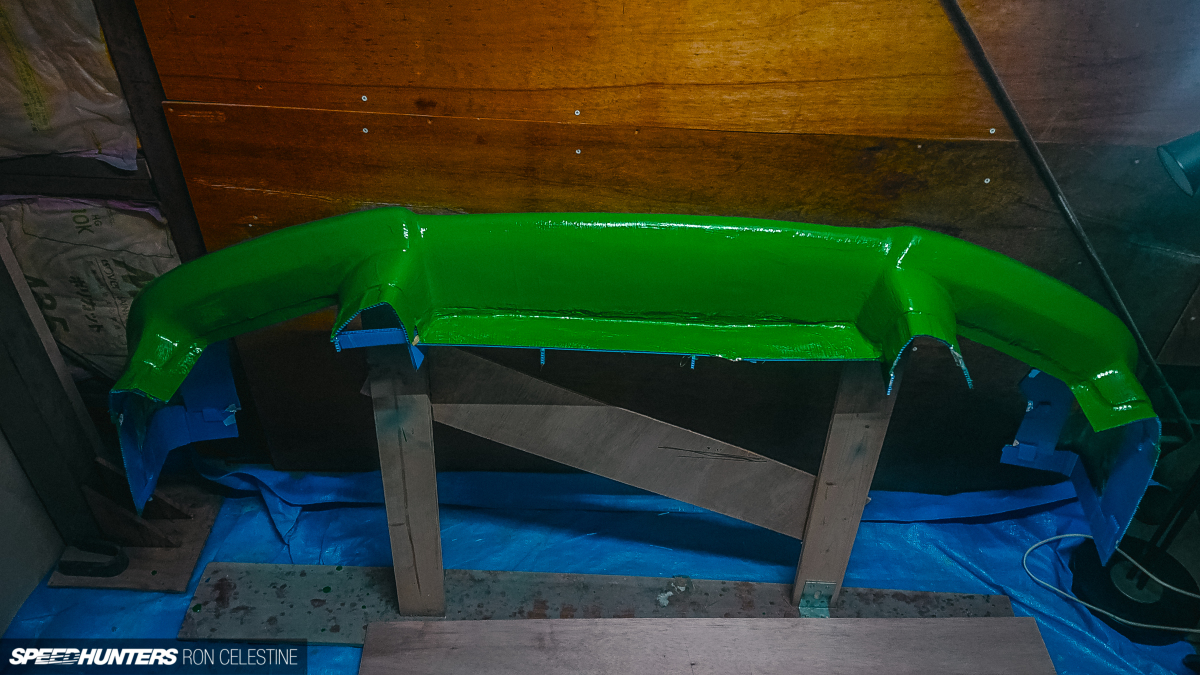
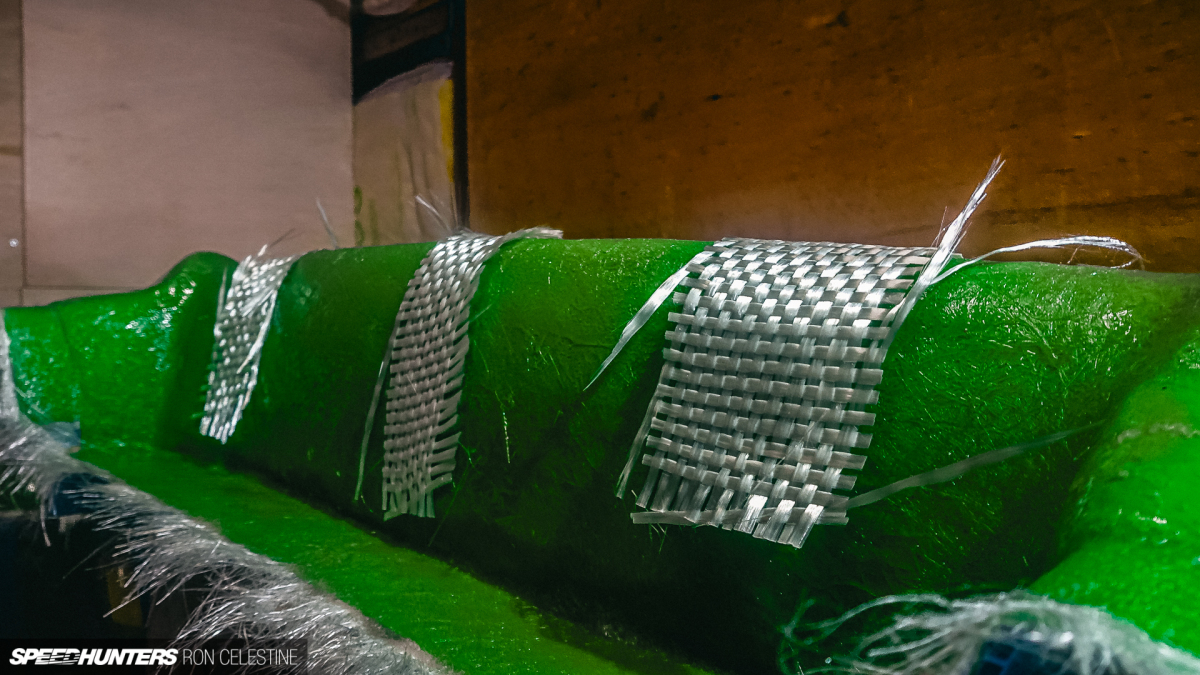
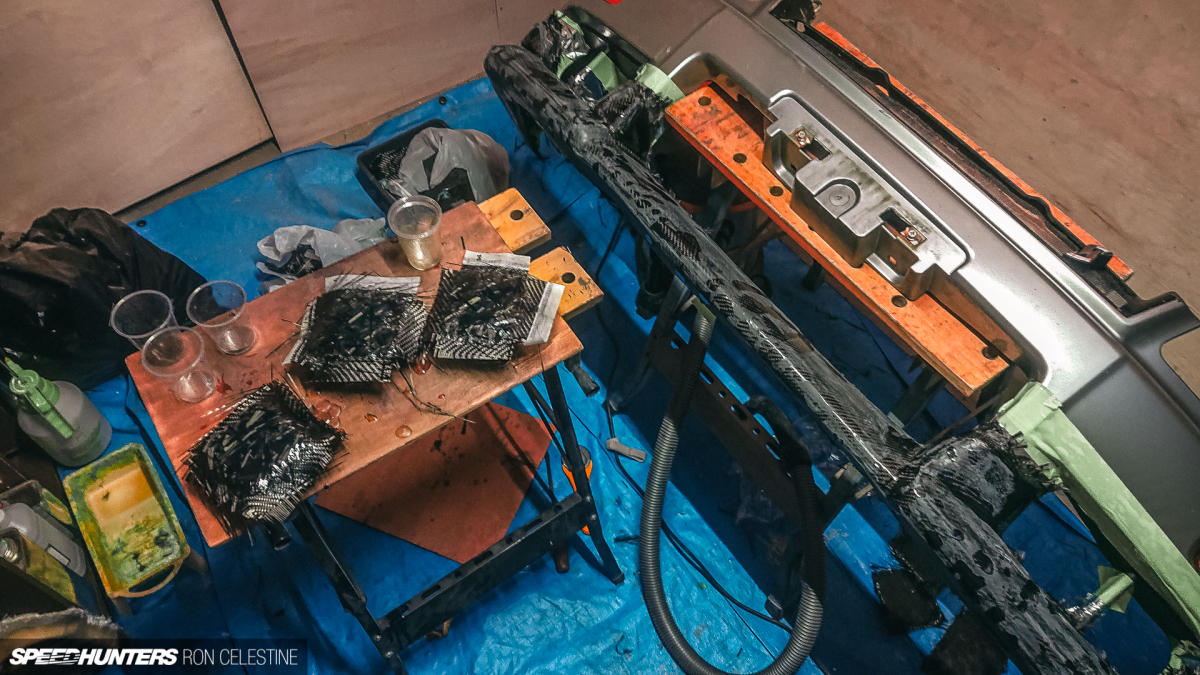
Once the gel coat was tacky, I added one layer of fiberglass sheets, then two layers of chopped fiberglass, and strategically placed sheets of woven roving fiberglass for additional strength at the bends and largely flat areas. I topped it off with another layer of chopped fiberglass. If I were to do it again, I would place the woven roving last, as it made chasing air bubbles on the final layer a nightmare.
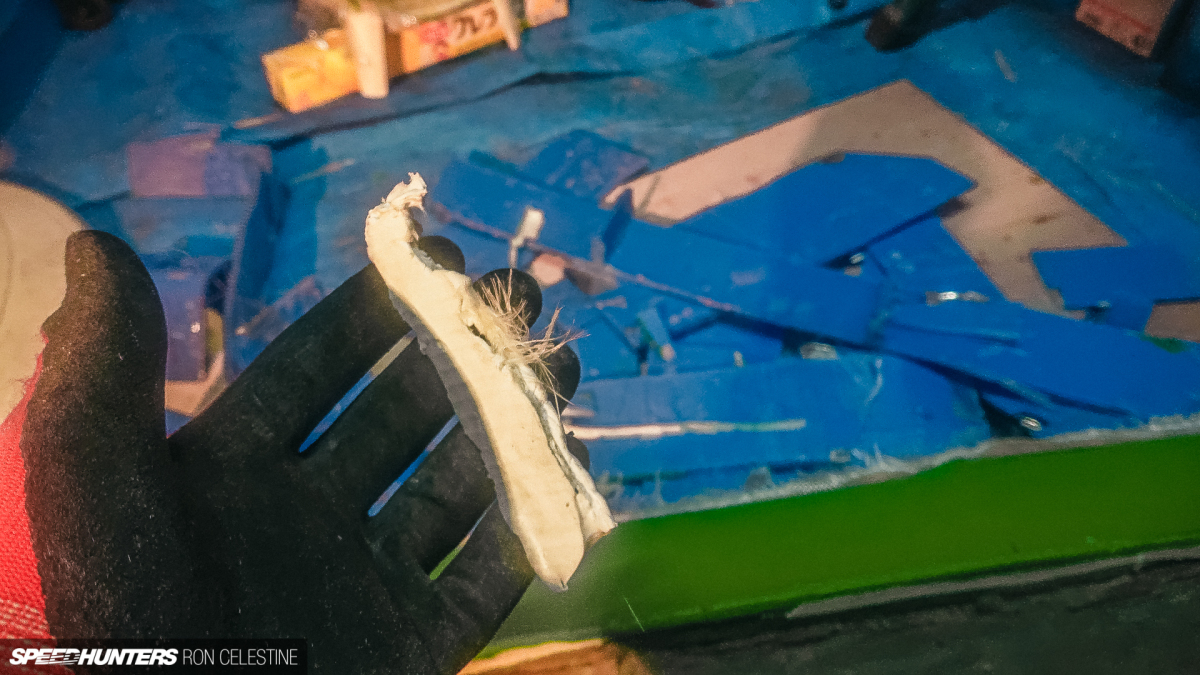
With the mold fully cured, I spent a little under an hour demolding.
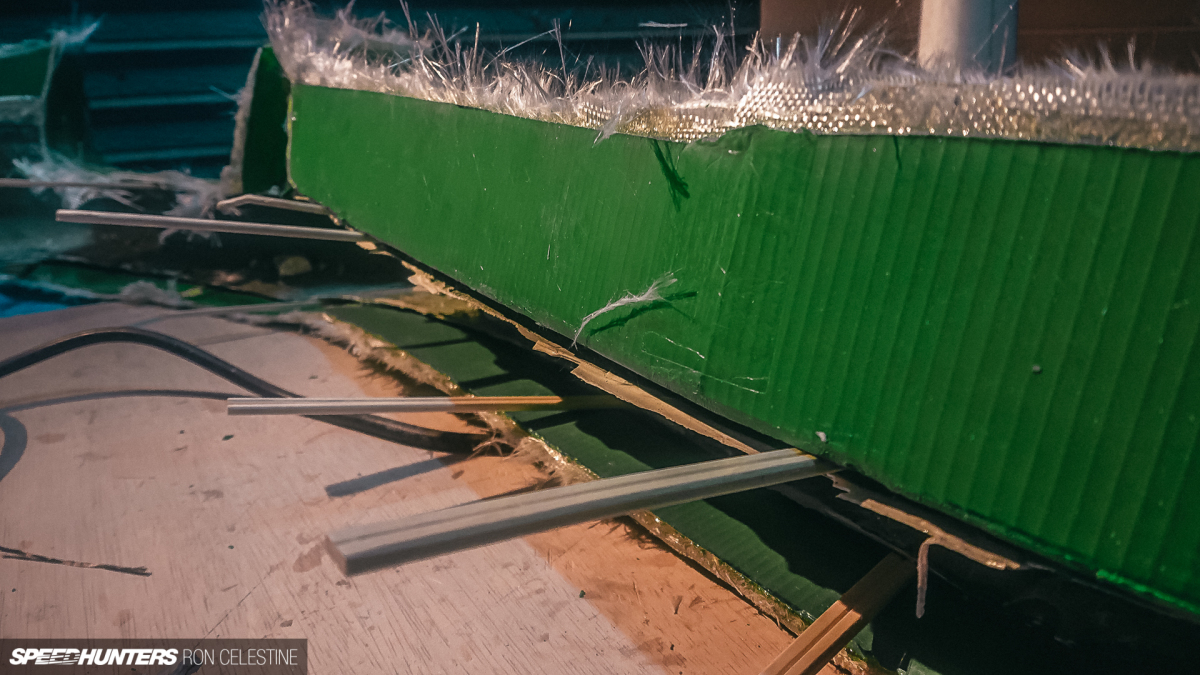
Remember, this was the first time making something large and complicated, so the last thing my heart could take was damaging the mold or discovering I had screwed up catastrophically. Slow and steady was the name of the game.
Side note: Wooden chopsticks make for excellent wedges.
The plug came out revealing a pretty damn good mold with only a few blemishes. Whew!

Remember that rattle can primer? The heat generated from curing caused some of the paint to transfer onto the mold, so I had to spend an additional hour scraping it off before I could prepare the mold for carbon.
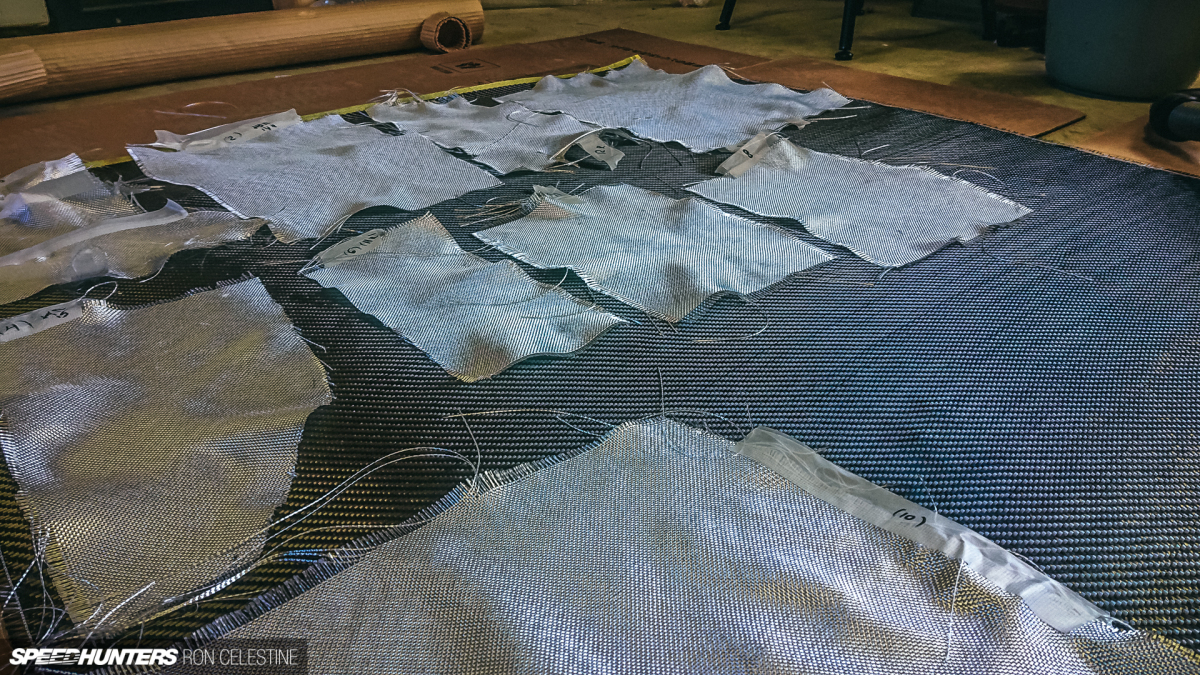
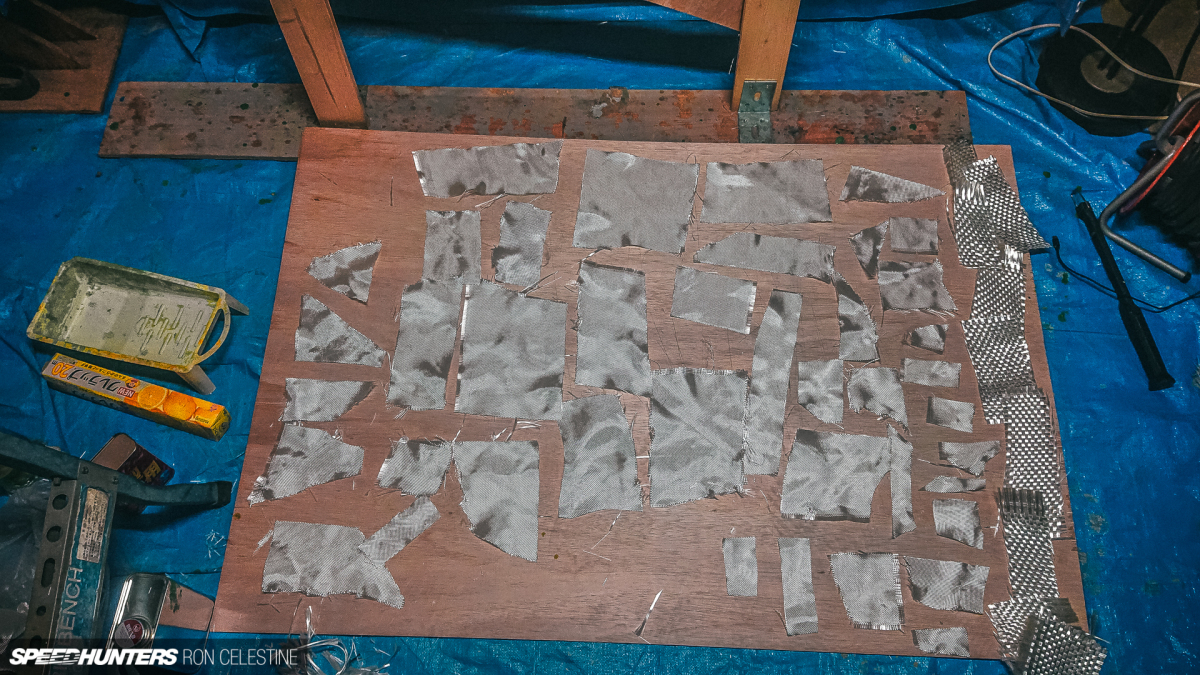
I designed the mold to perform a vacuum bagging infusion, but I decided to start simple with a wet layup. This meant that laying in a large sheet of carbon would be a nightmare.
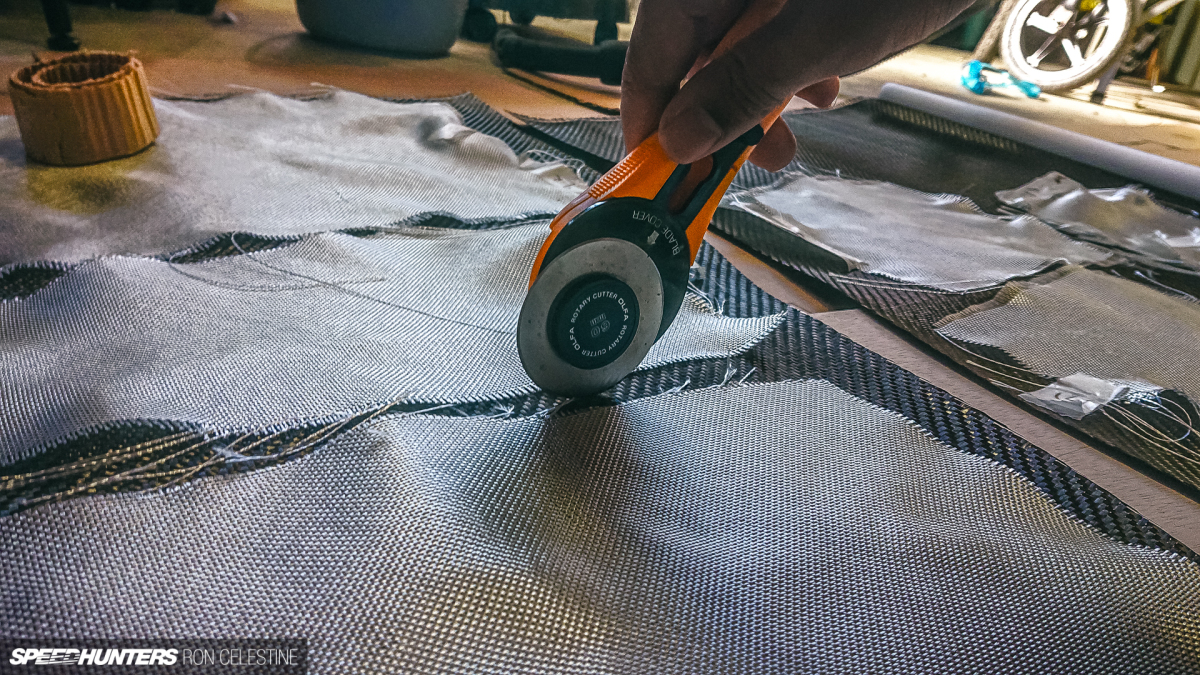
I could cut the carbon fiber into smaller sections and lay them so that the ends would be hidden. I used fiberglass sheets to help make templates for cutting the carbon to minimize waste.
At this point, I should have known that I needed to stabilize the ends to prevent them from fraying, but I sent it anyway.
Plan Chopped
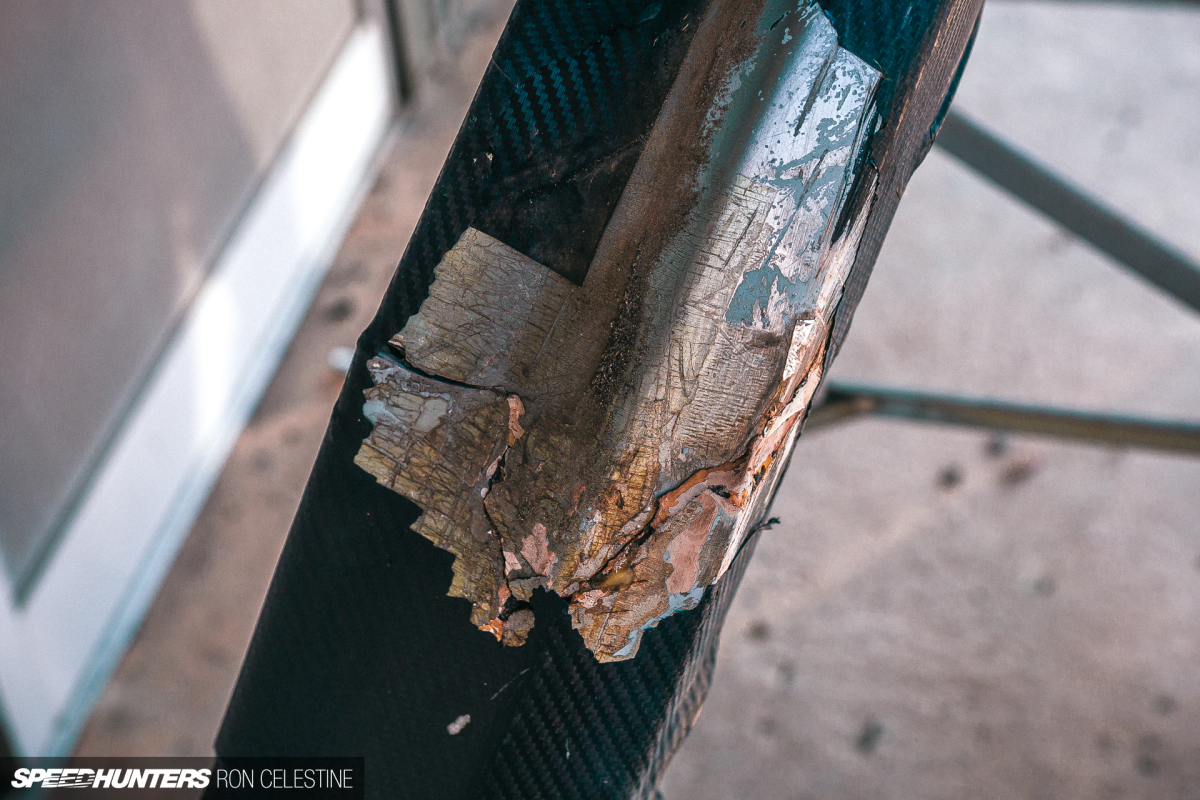
Once the carbon fiber had cured, I pulled my first part from the mold without drama. Then, I realized I had a problem – it looked like sh*t.
Yes, wet layups will require more finishing work to look right, and I knew this was its ugly duckling phase.
However, that didn’t stop my heart from sinking. After all that work and preparation, it looked like this. Sometimes, you need to take a break and let your brain and emotions reset slightly to think clearly. After I did that, I came up with a new plan.
Now that the part was out of the mold, I could easily add another sheet of carbon, creating a new cosmetic skin layer…
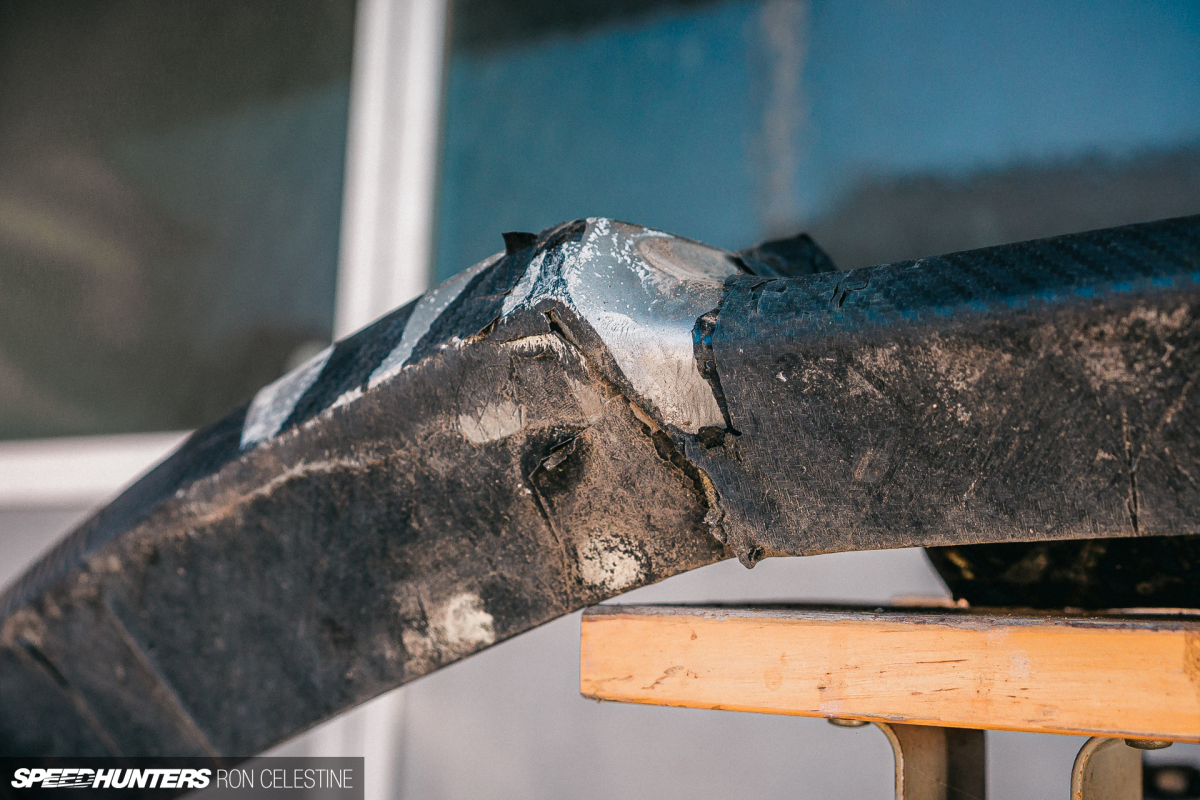
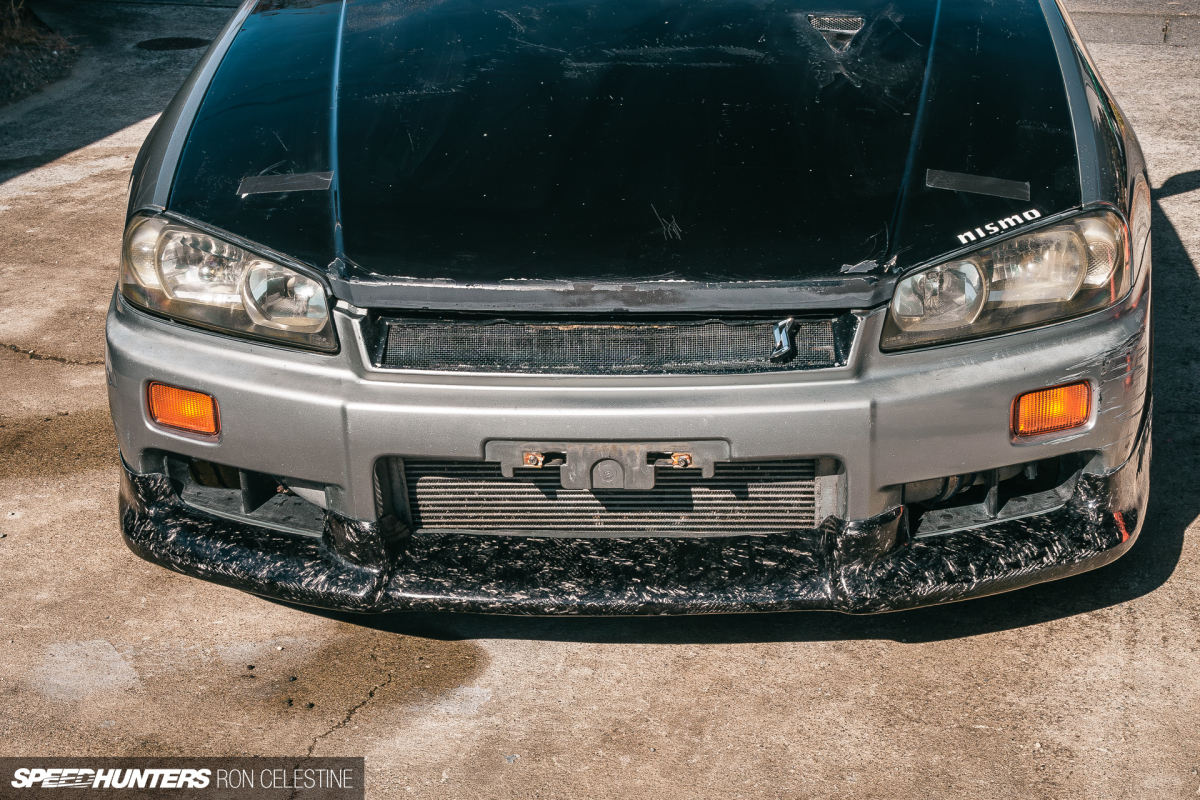
…or, I could continue sending it and create a forged carbon look as the new cosmetics layer. Since I’ve been sending it like this so far, why stop now?


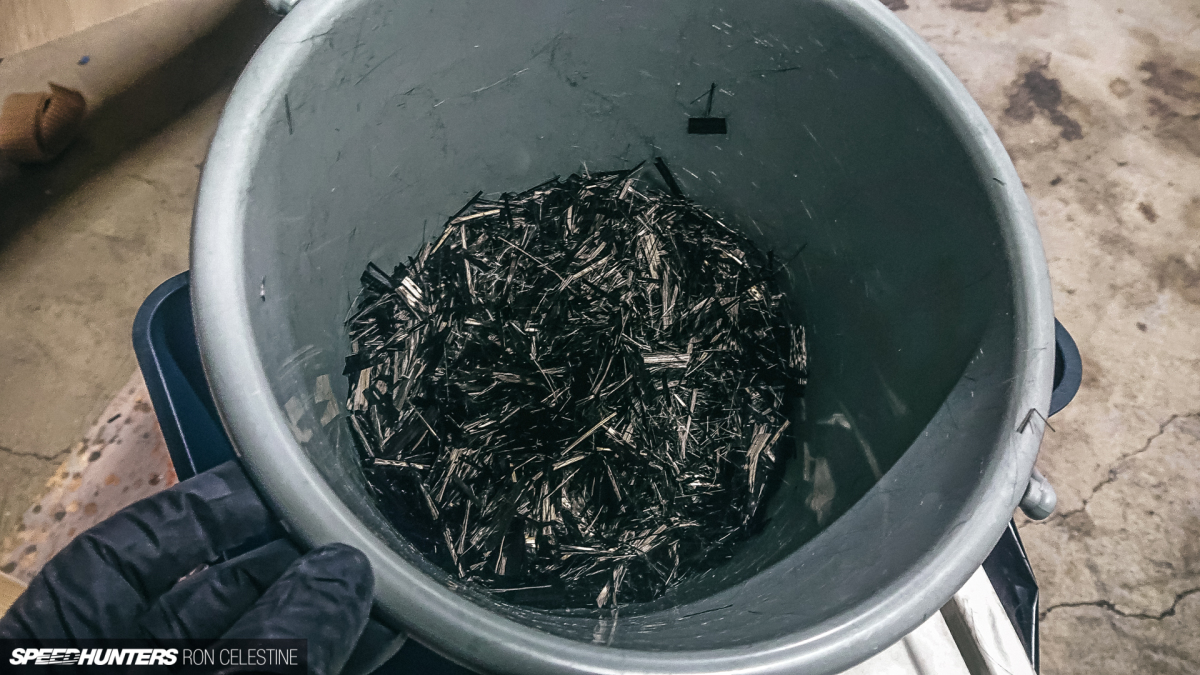
The problem with this plan was that I typically dislike the appearance of forged carbon. This led me down the rabbit hole of small-scale testing different types of carbon fiber fabrics and tows, cut to various lengths, to create a pattern I liked.
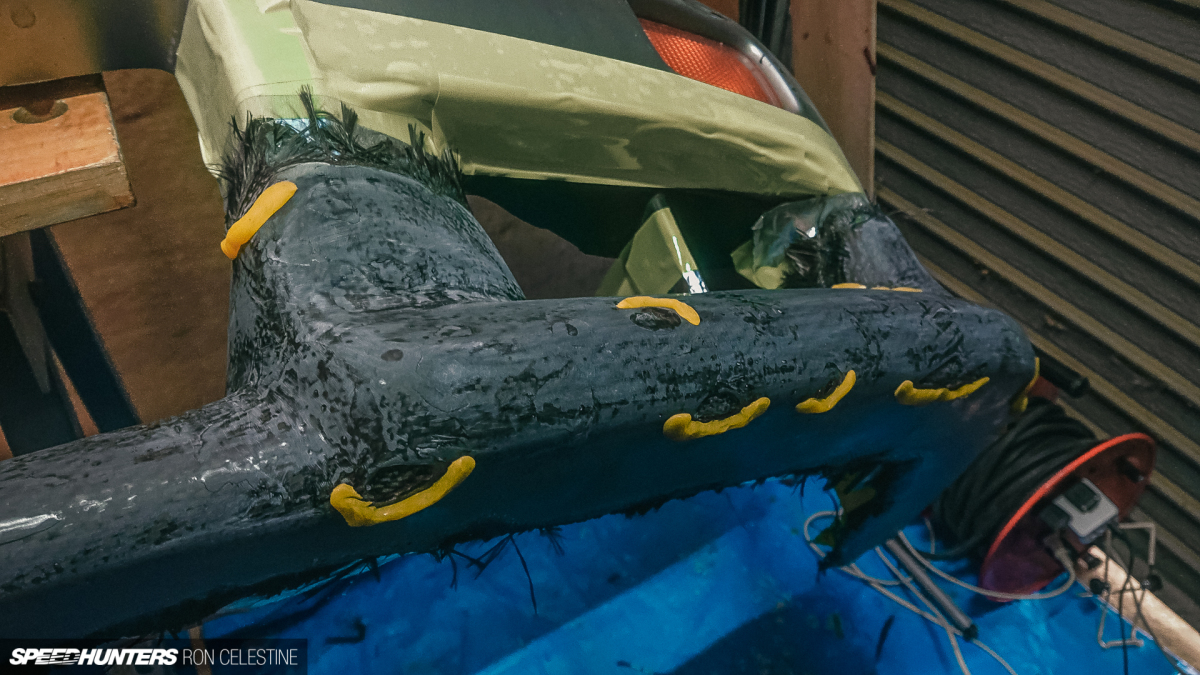
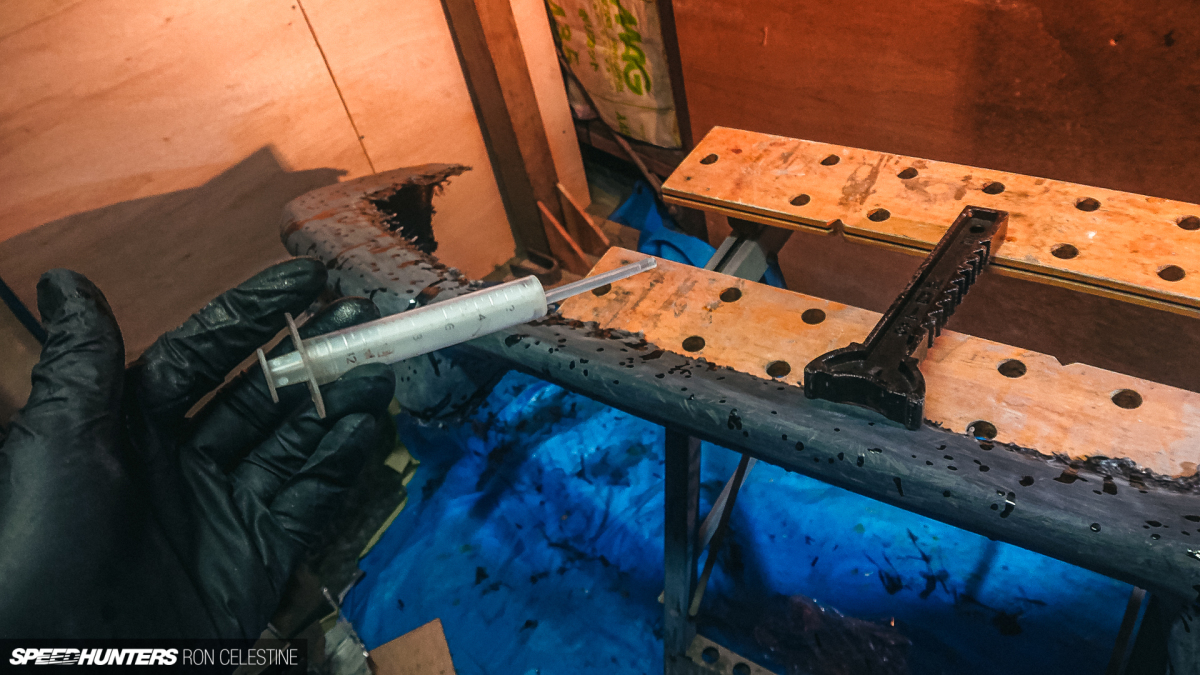
I then spent much time sanding and filling low spots with a syringe and wax dams. This process of sanding and filling went on more than it needed to, but you tend to be extra cautious when you’re experimenting and have a ton of time and resources invested into the process.
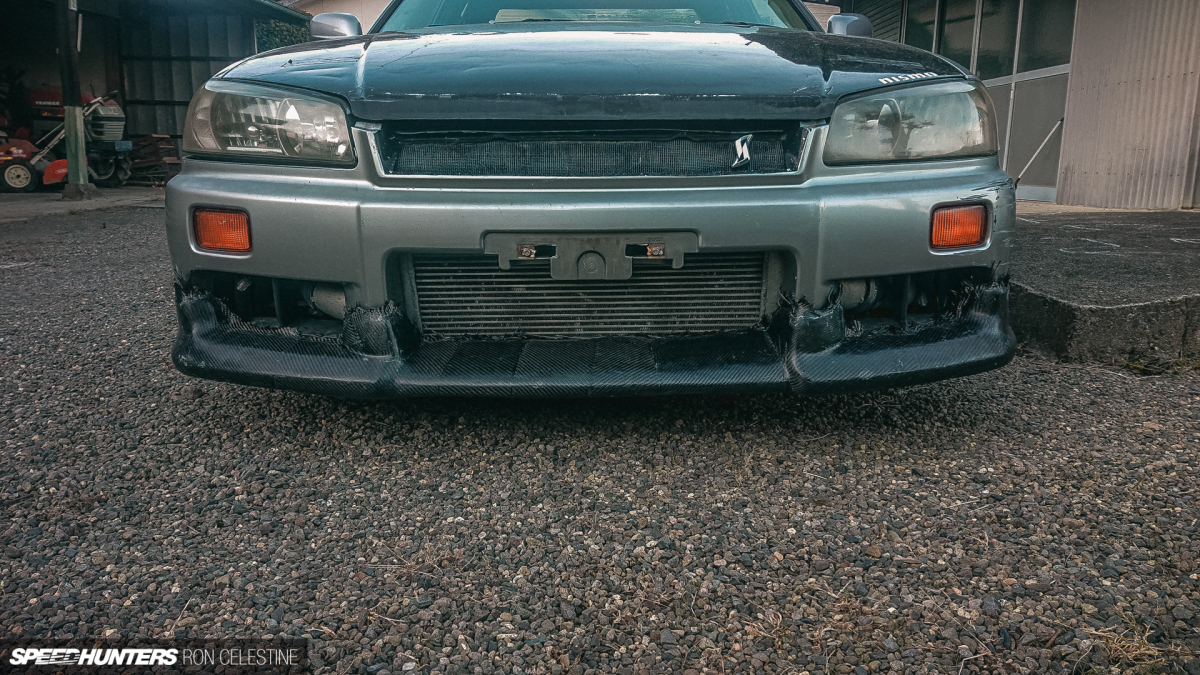
The finished results are far from perfect, but I am proud that I was able to get it to this point.
I messed up the fitment that I worked so hard to have on the plug, and I sanded a bit too much of the forged carbon cosmetic layer off, chasing my tail getting everything flat. I also should redo the UV top coat to remove the runs from trying to build up layers too fast. The carbon fiber lip is simply resting on the bumper in these images.
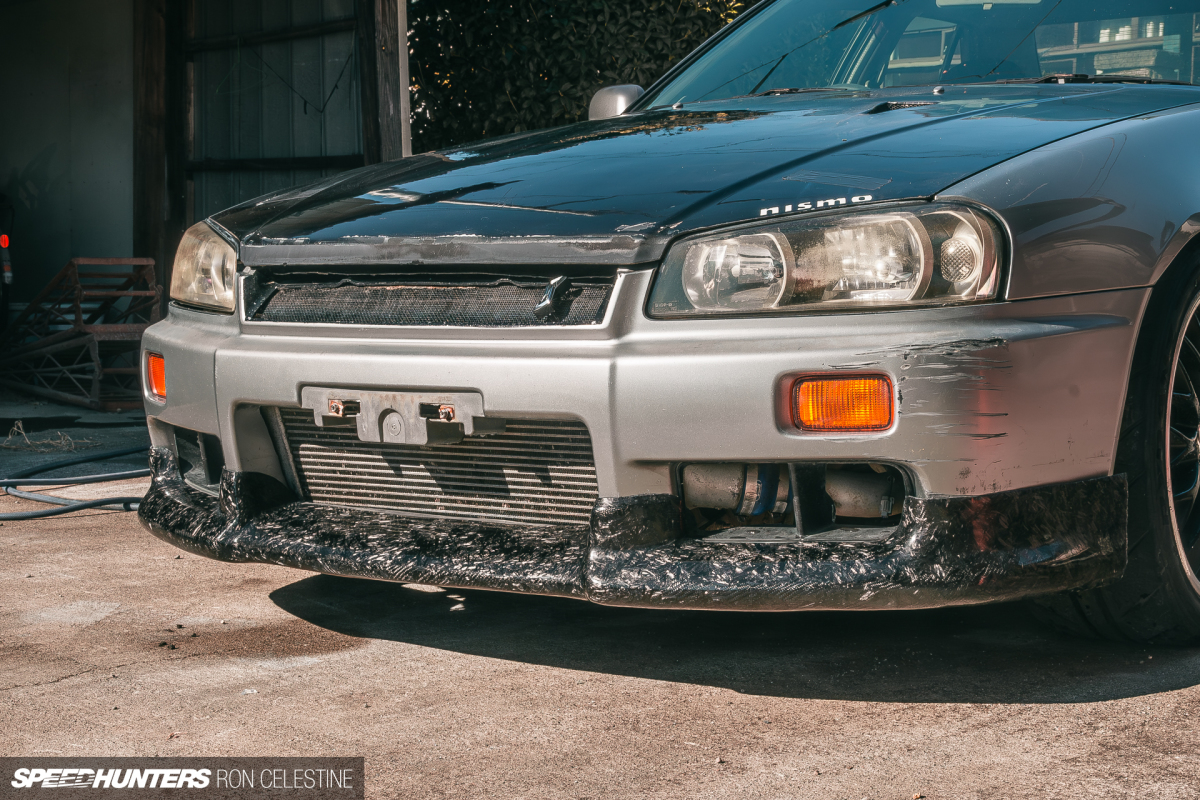
It would be easy for me to remain disappointed because the lip is still not perfect. However, the more I look at it, the happier I become. I took on the challenge of making a large, complex part from scratch using tricky materials.
Even more importantly, I gained a wealth of knowledge and confidence that I can apply immediately to improve this and the next part.
It shows that the result isn’t always the most critical factor. We shouldn’t become so tunnel-visioned about achieving a specific target or goal that it blocks out other possibilities to achieve the same thing or something even more remarkable.
I can’t wait to apply what I learned on this project to the next piece of the puzzle for Project Rough. I’ll make sure it happens sooner rather than two years later.
Ron Celestine
Instagram: celestinephotography